1. Find the brightest usable window
Look for a window with broad light and enough table space to work safely. Turn off nearby lamps if their warm color contaminates the plate. Clear only the small area needed for the dish, phone, and bounce card.
You do not need studio lights to make food look good, only the light a real restaurant already has.
Updated July 2026
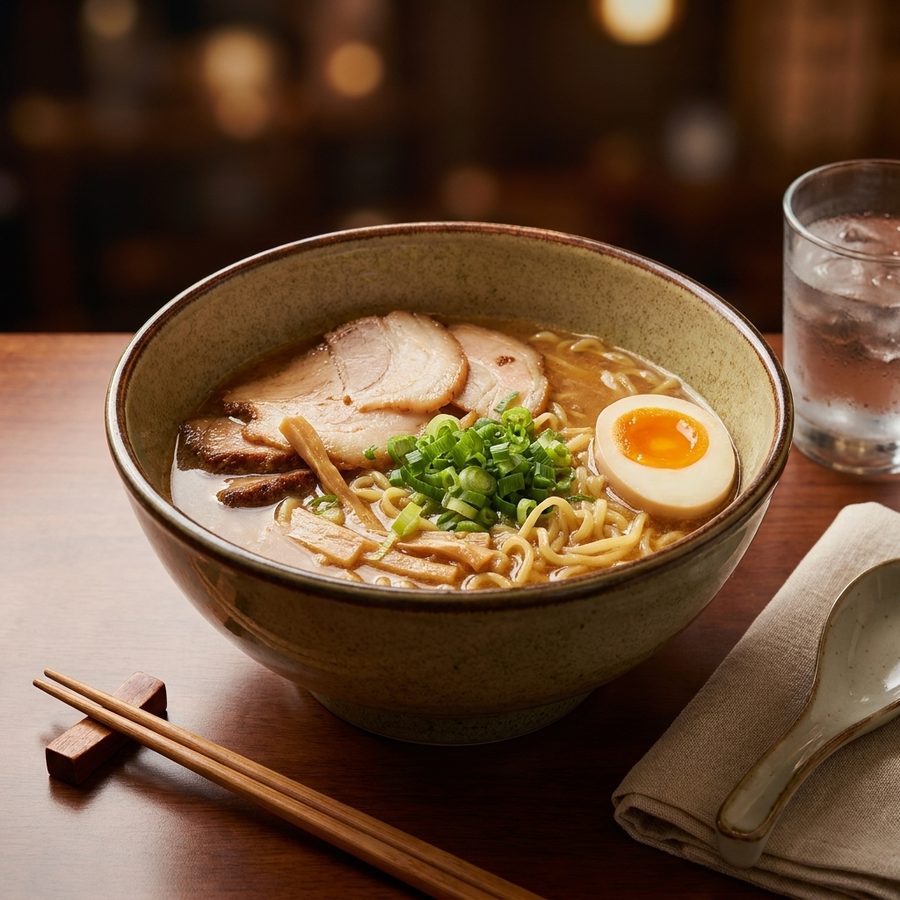
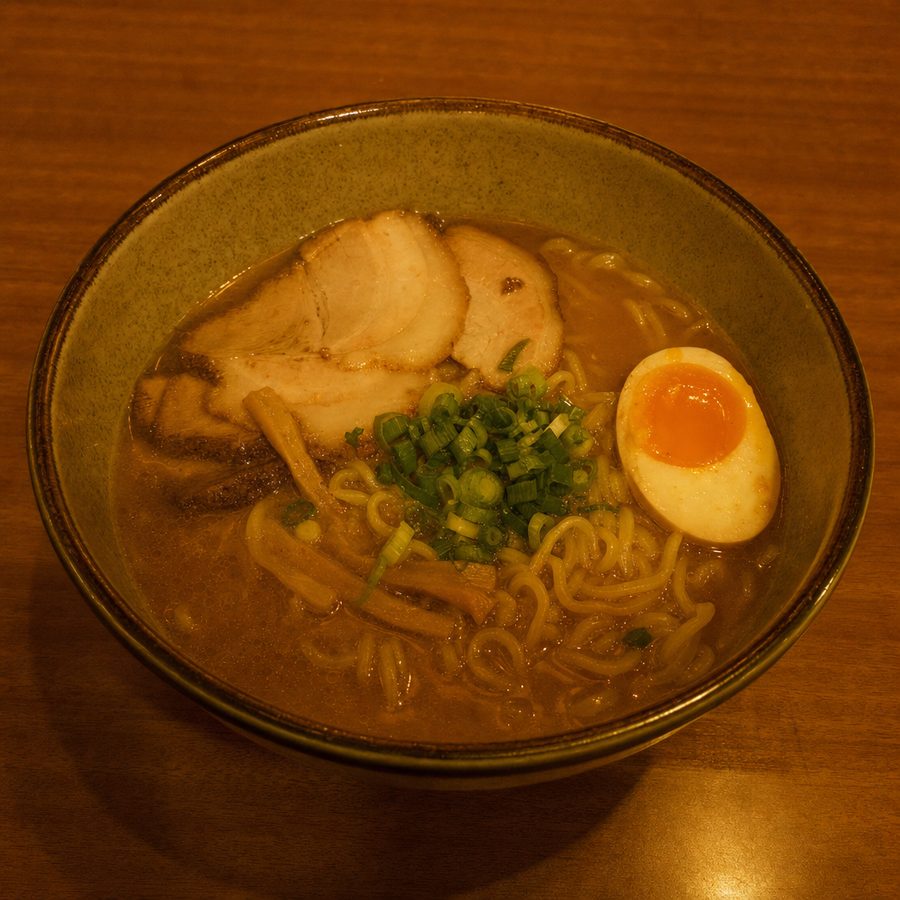
Light describes the food. Its direction shows whether a crust is crisp, a sauce is glossy, or a stack has distinct layers. When light comes from beside or slightly behind a plate, small shadows reveal shape and texture. Light placed close to the camera fills those shadows, which can make the dish look flat even when the exposure is technically correct.
Softness controls the transition between highlights and shadows. A large window on an overcast day produces broad, soft light. Direct midday sun produces small, hard-edged shadows and bright reflections that a phone may not capture at the same time as darker food. Diffusion spreads the source and smooths that transition without removing all shape.
Color temperature controls whether neutral objects look neutral. Warm dining-room bulbs may make chicken, cheese, and white plates orange. Daylight mixed with those bulbs can create an awkward frame where one side looks yellow and the other looks blue or grey. The camera has to choose a balance, so simplify the scene to one dominant kind of light whenever possible.
Lighting is only one part of the capture. The food photography guide covers composition, angles, styling, and menu-ready output alongside light, and the restaurant food photography guide helps turn a good setup into a repeatable routine.
The goal is not a fixed diagram. It is a repeatable way to inspect the dining room and make the available window work.
Look for a window with broad light and enough table space to work safely. Turn off nearby lamps if their warm color contaminates the plate. Clear only the small area needed for the dish, phone, and bounce card.
Do not place the plate directly under the window or aim the phone with the window behind it. Set the dish beside the glass, then rotate it until the window lights one side or the rear quarter. That side or backlight skims across the food and gives texture room to show.
Stand a clean white foam board or piece of white card opposite the window. Move it closer to soften deep shadows and farther away when the dish begins to look flat. A folded menu can support it if the setup stays stable and away from guests.
If the sun blasts across the table, move back from the beam or diffuse it with a sheer curtain. Parchment can soften a smaller window area when secured safely. Keep any temporary material away from cooking equipment, hot lamps, and flames.
Tip: Set the dish beside the window, not under it or with the window behind the camera. Side light skimming across the food is what makes texture and edges read.
Evening service removes the clean window setup. The dining room may have low amber bulbs, guests may occupy the brighter tables, and the plate may need to leave the pass quickly. In that situation, the job is to find the least difficult light, keep the phone stable, and avoid making the source worse.
Scan for the least-warm light source. A table near a remaining window, a brighter pendant, or a neutral service-area light may be more useful than the photogenic corner of the room. Move the plate only when it is safe and does not interfere with staff or guests. Under a pendant, shift the dish slightly off center so the light crosses the food instead of striking the top and leaving the front dark.
Steady the phone by placing both elbows on the table and holding it with two hands. Pause after tapping the shutter. Do not pinch-zoom, because the lower light already asks more of the camera. Take a few deliberate frames rather than a burst of slightly different shaky ones, then inspect fine details such as herbs, crumb, and the edge of the plate.
Some service-time light cannot be fixed at the source. A very dark room may force the phone to produce blur or noisy detail. Several bulbs with different colors can make accurate color impossible in one capture. Built-in flash will not solve those problems cleanly.
Set a practical expectation: secure a sharp, well-composed frame with intact highlights, then plan to correct exposure and color afterward. If the food still cannot be recorded clearly, schedule a brief daytime reshoot. A retake is more honest than pretending missing detail can be recovered.
Tap the part of the dish that needs to be sharp, usually the main ingredient or the front edge of the hero portion. On many phones, pressing and holding that point activates AE/AF lock, which holds exposure and focus while you refine the framing. The exact label and gesture vary by camera app as of July 2026.
After focusing, use the exposure control beside the focus point and nudge it down when sauce, cheese, a white plate, or oily highlights begin to lose detail. A slightly darker capture can retain bright texture that correction can lift later. A blown-out white patch contains no useful surface detail.
Never use the phone's built-in flash for a menu photo. It sends a small, hard light from almost the same direction as the lens. That flattens texture, creates sharp glare on glossy food and crockery, and often leaves the room behind the dish looking black. For more camera controls and capture habits, see the smartphone menu photography guide, and weigh device differences in the best camera for food photography guide.
None of this is required. A restaurant can make a strong photo with a phone, a window, and a steady pair of hands. If a few basic supplies are useful, the complete setup is often under $50 and can fit in a cupboard. For a fuller rundown, see the equipment for food photography guide.
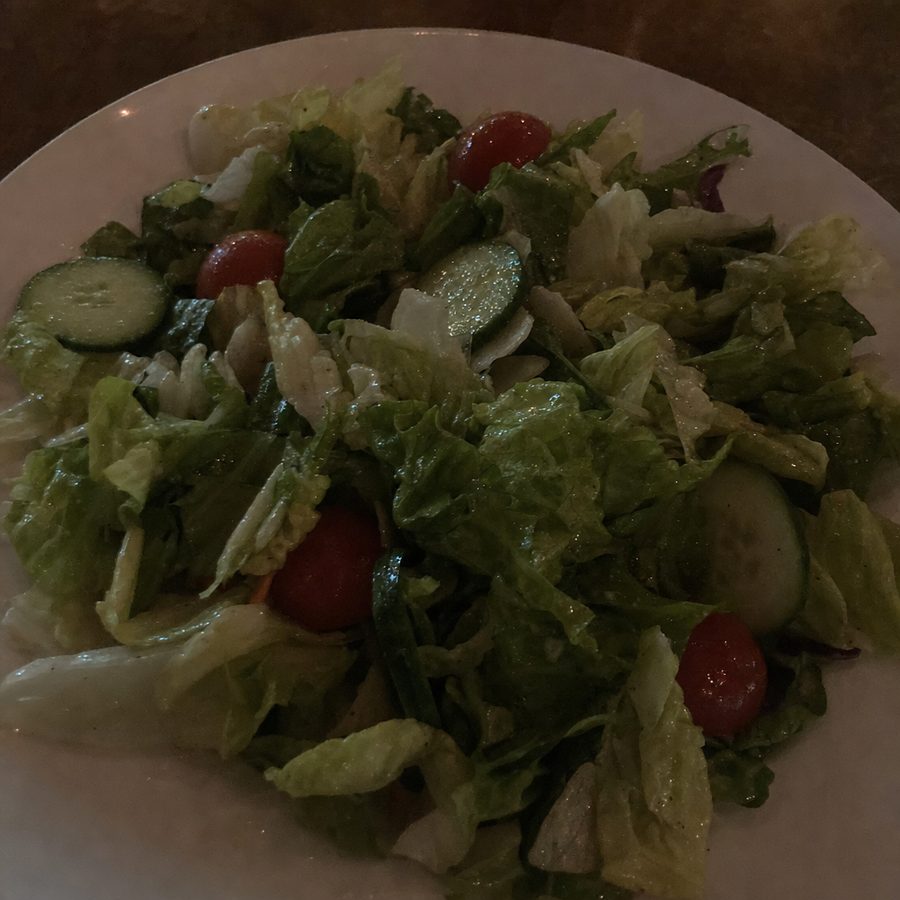
Careful correction can brighten an underexposed shot, reduce a warm or yellow cast, even out distracting shadows, and clean a background that makes the lighting feel muddier. A tool like MenuCapture and other AI food photography tools can make those controlled changes across a menu set, especially when the original dish is sharp and recognizable.
Correction has a hard limit. It cannot invent real texture that blur removed, restore detail from a completely white highlight, or turn weak composition into a convincing photograph. It should preserve the food being sold rather than replace ingredients, change portions, or create lighting that contradicts the scene.
Start with the narrowest problem. Use the dark food photo workflow when exposure is the main issue, or follow the yellow restaurant light correction guide when white plates and pale ingredients look orange. A set of copy-paste editing prompts covers the common corrections. Compare the result with the original and keep it believable.
Before
After
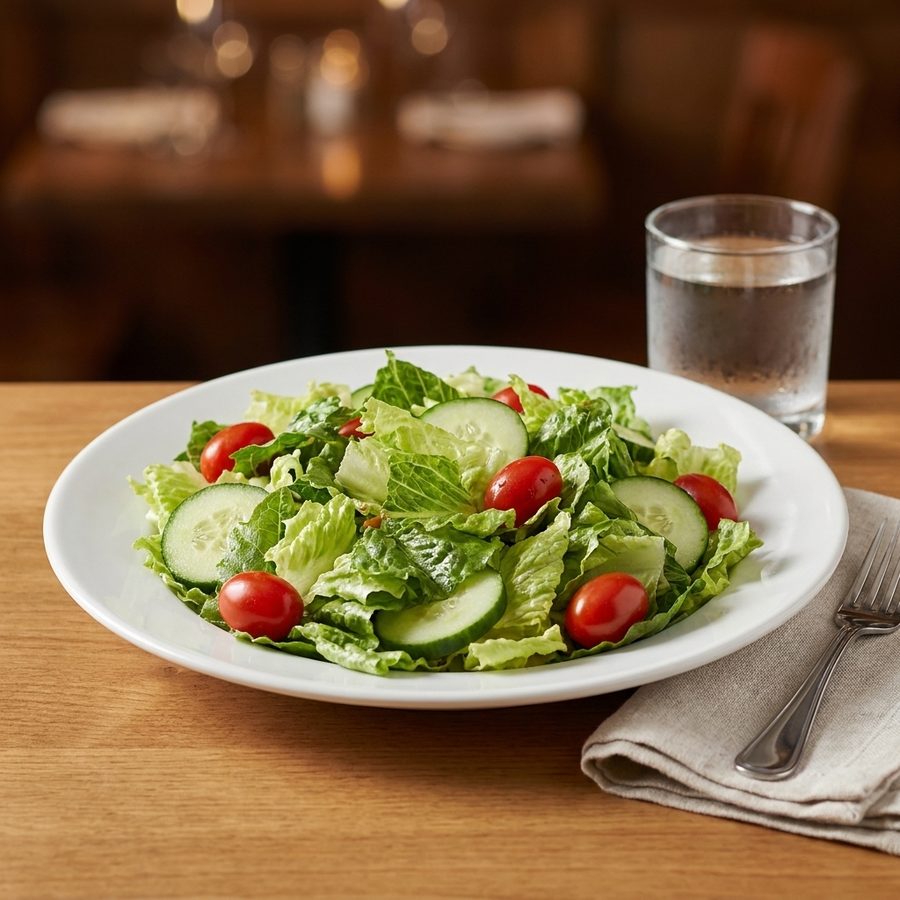
A dark-to-bright correction can reveal captured detail, but it still depends on a sharp original with highlights that were not clipped.
Broth reflects the window like a mirror. Raise the camera angle so the reflection moves away from the center, then rotate the bowl or shift sideways. Keep a narrow highlight for gloss, but do not let a white reflection hide noodles, protein, or garnish.
A tall burger blocks its own light. Use side light to show the stack, then place white card close to the shadow side so the lower fillings remain visible. Watch the top bun, which can become bright before the interior is properly exposed.
Place a translucent drink between the camera and a window, slightly off the direct line, to make its color glow. Shield the lens or change position if the window sends haze or flare across the frame. Check glass edges and ice for blown highlights.
Before
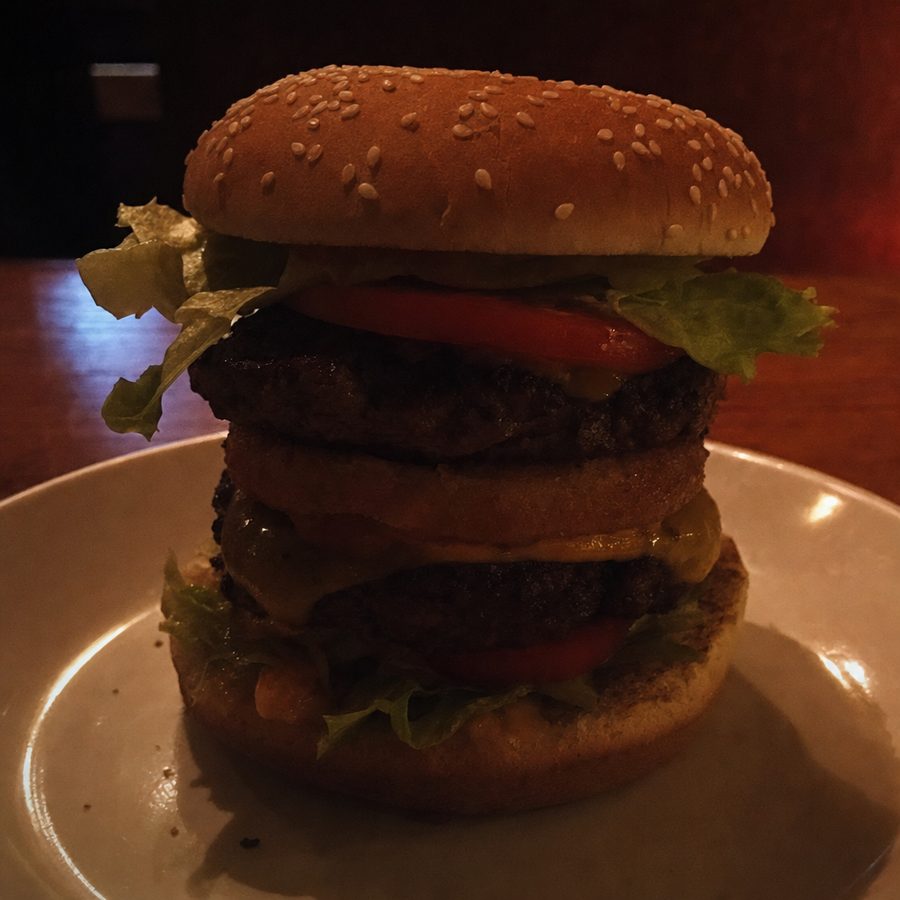
After
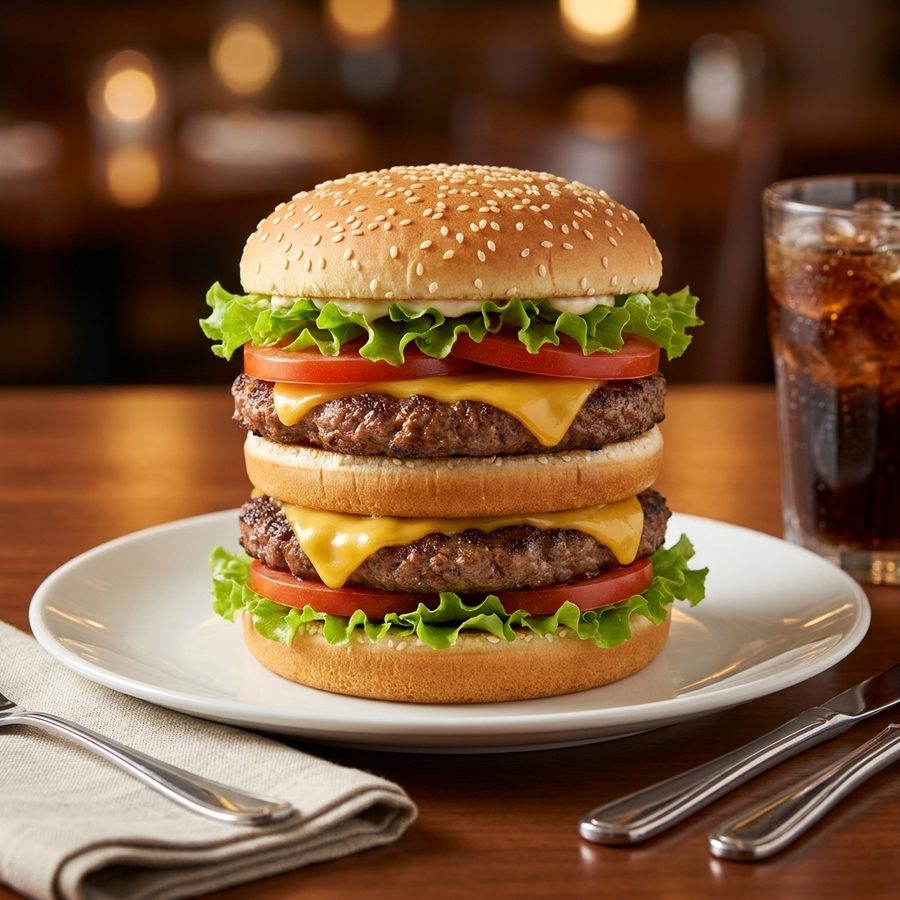
Side light gives the stack shape, while controlled fill keeps the burger's shadow side readable.
Soft light coming from the side or slightly behind the dish is the most useful starting point. A bright window without direct sun creates shape and texture while keeping highlights manageable. Place a white card opposite the window if the shadow side becomes too dark.
Yes, if the light is bright enough and reasonably even. Move the plate toward the least-warm light available, steady the phone, and keep mixed light sources out of the frame. Some dim service-time conditions will still need color and exposure correction afterward.
A ring light can make a record of a dish, but its front-facing light often flattens texture and creates circular reflections on sauces, bowls, and glasses. Side light from a window or a diffused lamp usually gives food more shape.
First, avoid mixing warm ceiling bulbs with cool window light. If the photo is already yellow, adjust white balance or temperature toward a cooler, neutral result while watching white plates and pale ingredients. Keep some natural warmth so the dish does not turn grey or blue.
No. The built-in phone flash points directly at the plate, which can flatten texture, create glare, and make the background look unnaturally dark. A window, a brighter table, and a white bounce card are more useful in most restaurants.
The phone matters less than the quality and direction of the light. A newer camera may handle dim scenes more cleanly, but it cannot make harsh glare or mixed color temperatures disappear. Good light and a steady capture help any recent phone produce a stronger source image.
Move the dish out of the direct beam or place a sheer white curtain, parchment, or another neutral translucent material between the window and the dish. Keep the diffuser away from heat and open flame, and check that it does not add a color cast.
The craft hub: lighting, styling, and shooting dishes for your menu.
Shoot menu-ready dish photos with a phone you already own.
How AI photo editing improves real dish photos, and where it does not fit.
Brighten underexposed dish photos without washing out the food.
MenuCapture helps restaurants correct light, color, and backgrounds while keeping each dish recognizable.
View pricing