Give the food room
A slightly smaller plate can make a normal portion feel visually complete without adding food the customer will not receive. Leave a clean border, and build height with the dish's real ingredients instead of hidden supports.
Customers order what they can see clearly. This guide helps restaurant owners fix, update, and keep menu photos current for delivery apps and their own website, without booking a new photo shoot every time a dish changes.
Updated July 2026
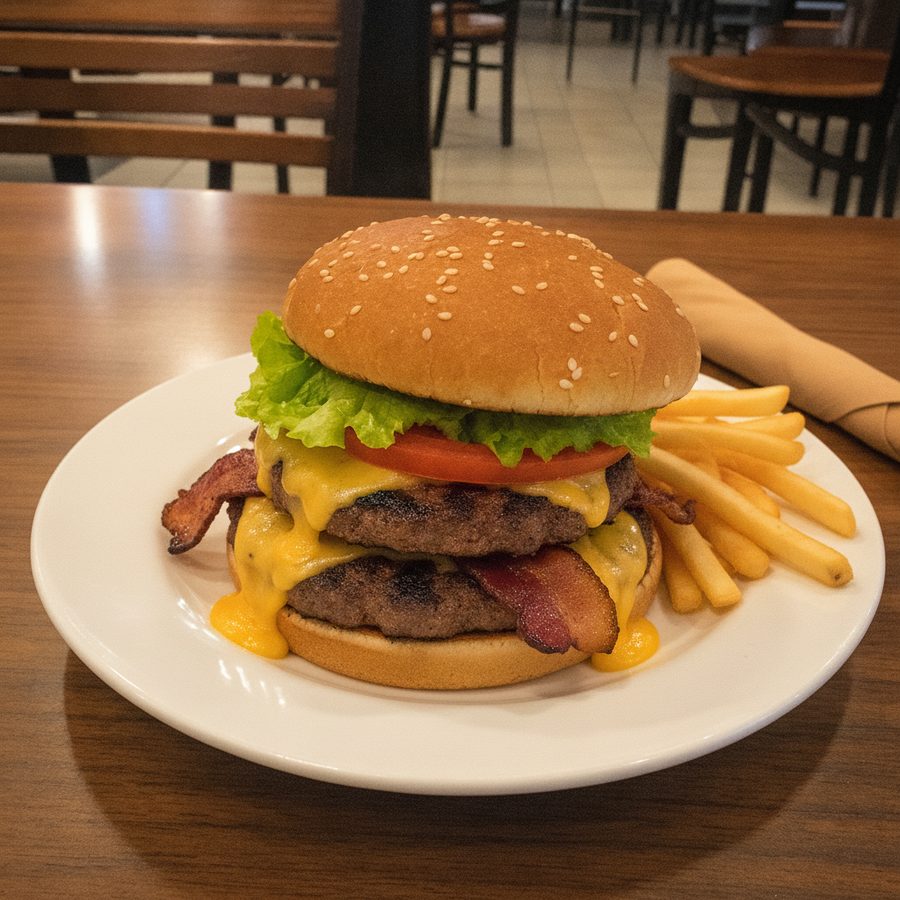
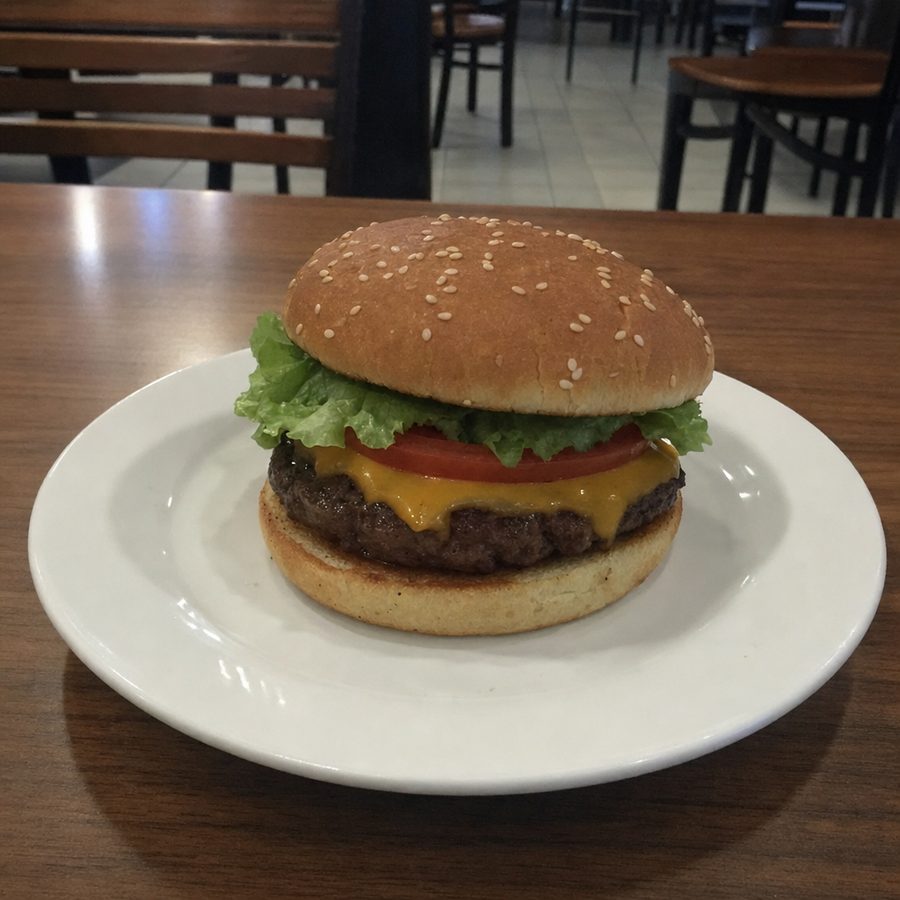
Food has a short visual life. Greens wilt, fried coatings lose their crisp appearance, sauces develop a skin, ice melts, and steam disappears. A shoe or bottle can wait while the camera is adjusted. A bowl of noodles cannot. The set should be ready before the finished plate arrives, and the defining garnish should go on at the last second.
Appetite appeal comes from specific cues rather than indiscriminate brightness or saturation. Side light can reveal the crust on bread, the ridges on grilled meat, and the gloss of a sauce. A small amount of visible steam can suggest heat. Fresh herbs, intact vegetables, and controlled highlights can suggest freshness. The creative food photography ideas show more ways to build a distinctive frame while keeping the dish honest. If every surface is made equally shiny or every color is pushed hard, the food begins to look less believable.
Honesty is part of the assignment. A menu photograph makes an expectation about portion, toppings, included sides, serving vessel, and presentation. Photograph the recipe the kitchen serves, not a larger substitute assembled only for the camera. If the restaurant changes the plate, build, or portion, update the image. Attractive photography and accurate photography should point in the same direction.
Menu photos also have to work small. Customers may first see the image as a thumbnail beside a dish name. The defining feature must remain legible when detail disappears: the burger stack, ramen toppings, pizza shape, steak sear, or taco filling. Clear separation between the dish and background matters more at that size than elaborate props. Leave enough space for alternate crops, but keep the food large enough to identify immediately.
The right method depends on the importance of the image, how often the menu changes, and whether the restaurant needs art direction or simple production speed. A mixed approach is normal: commission a small hero set, shoot new items internally, and edit each source for its destination. Most owners can start with the phone in their pocket. If you decide to invest, weigh the essential equipment for food photography and the best camera options against how often you actually shoot.
A professional restaurant shoot commonly runs about $750 to $2,000 as of July 2026. Scope, market, travel, food styling, assistants, usage rights, and the number of finished files can move the quote. Per-photo pricing may fall around $75 to $150, but a day rate and production fee are also common.
DIY is not free if it interrupts service or requires repeated remakes. Its advantage is control: the restaurant owns the schedule, can photograph a special immediately, and can repeat a familiar setup. AI editing is fastest after capture, but it still needs a recognizable source and a person who checks that the result matches the dish.
This walkthrough covers the complete capture process. The smartphone menu photography guide goes deeper on phone controls, while the broader restaurant food photography guide helps plan a repeatable restaurant workflow. For a condensed checklist of the habits that matter most, skim the food photography tips.
Tip: The two changes that rescue most menu photos are shooting in soft window light with the overhead lights off, and wiping the lens before the first frame. Everything after that is refinement.
Before
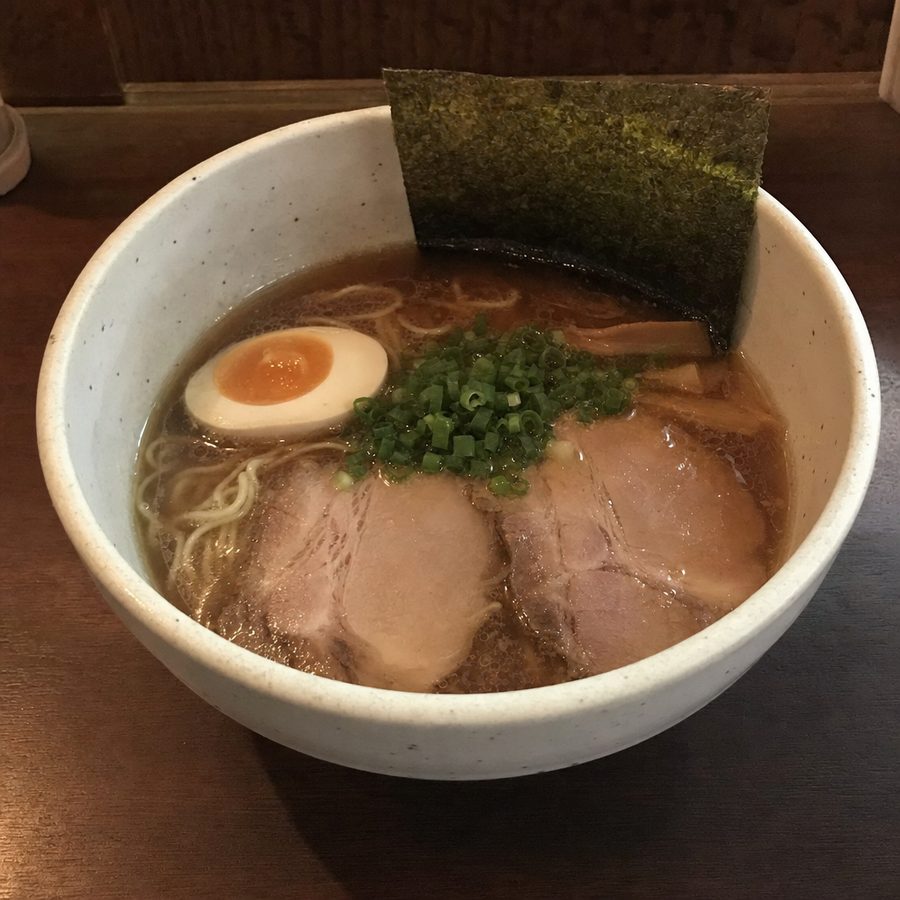
After
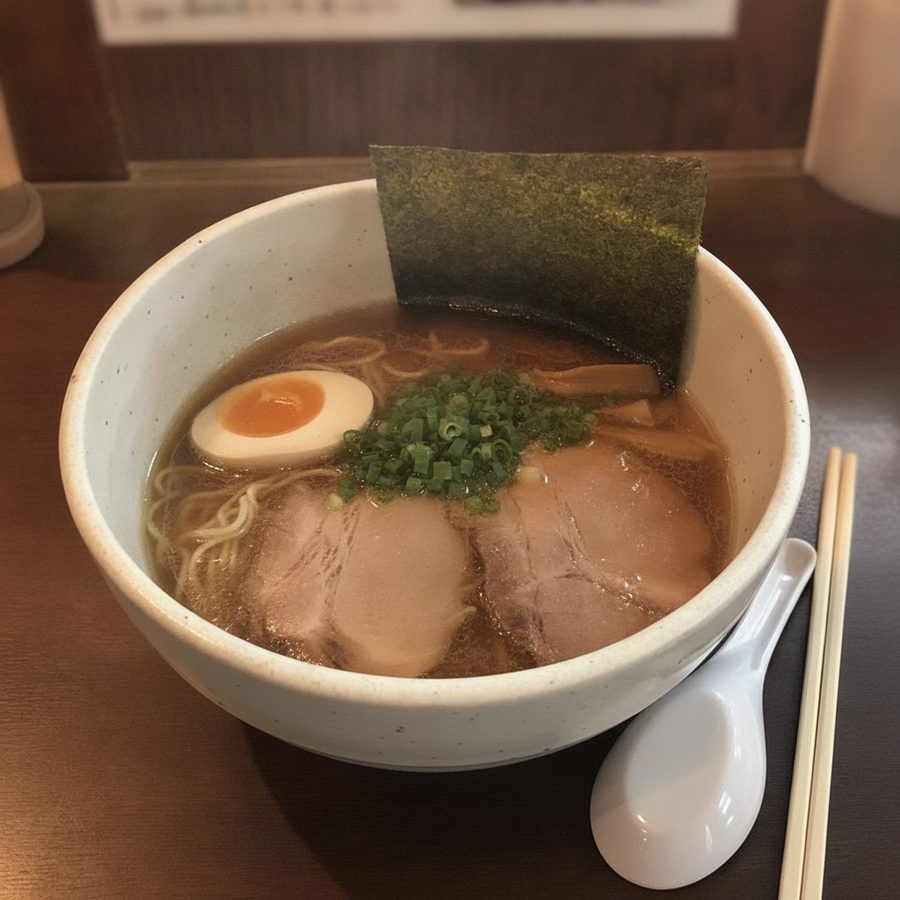
Direction determines where highlights and shadows fall. Side light reveals texture. Light from slightly behind can define steam, glass, and glossy surfaces, but may need a white card in front. Flat light from the phone's direction reduces shape.
Softness describes the transition from light to shadow. A large nearby window makes broad, gentle transitions. Direct midday sun and a small bare bulb make sharp shadows and bright reflections. A thin white curtain can diffuse direct window light without requiring a studio kit.
Color temperature is the plain-language warmth or coolness of light. Window light may look blue beside warm bulbs, while some restaurant LEDs look green. One dominant source is easier to correct than several conflicting sources. Use the plate, napkin, or another known neutral object as a visual reference.
For diagrams, troubleshooting, and low-light alternatives, read the full food photography lighting guide.
A slightly smaller plate can make a normal portion feel visually complete without adding food the customer will not receive. Leave a clean border, and build height with the dish's real ingredients instead of hidden supports.
Add herbs, crisp toppings, sauce, or a final brush of natural moisture immediately before the photo. Wipe accidental drips, but keep intentional sauce placement if it is part of service.
A folded napkin, utensil, ingredient, or drink can establish context. Keep props secondary, clean, and plausible for the restaurant. Avoid a crowded scene that makes the dish hard to read in a thumbnail.
Use the actual recipe, portion, plate, and available toppings. Styling should organize what the restaurant serves, not substitute a different product. Record the setup so later dishes follow the same visual rules.
Tip: Finish the plate at the last second. Add herbs, sauce, and any crisp topping right before the shot so nothing wilts or dulls while you frame.
Before
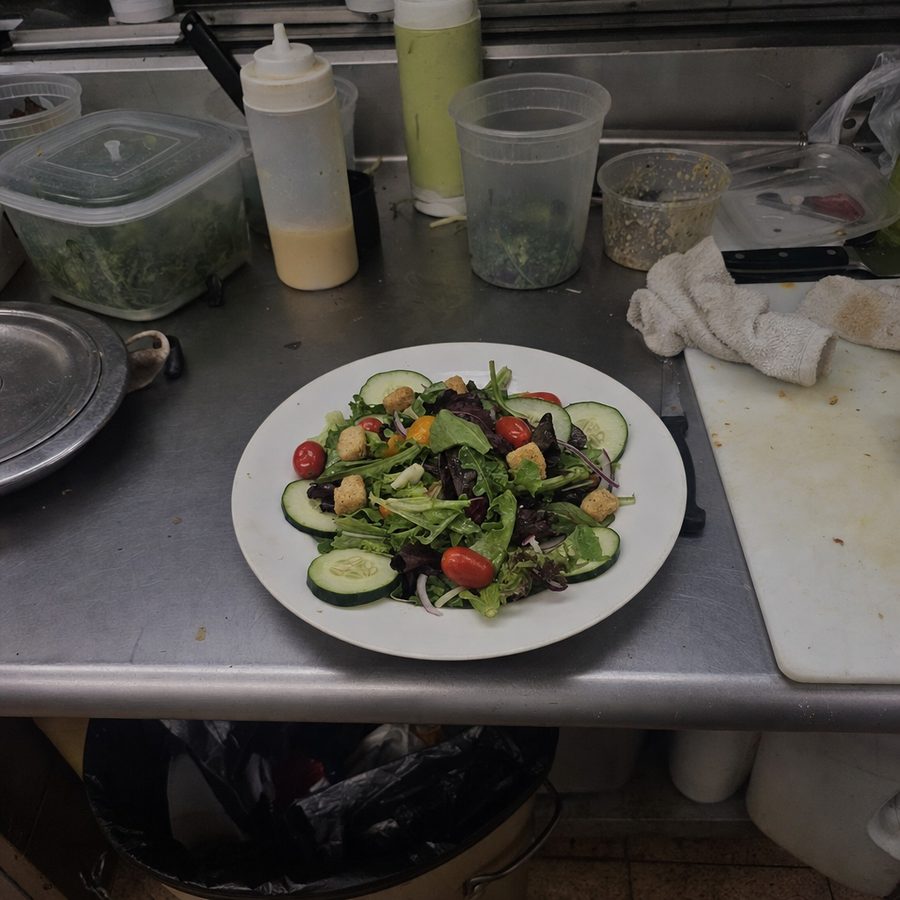
After
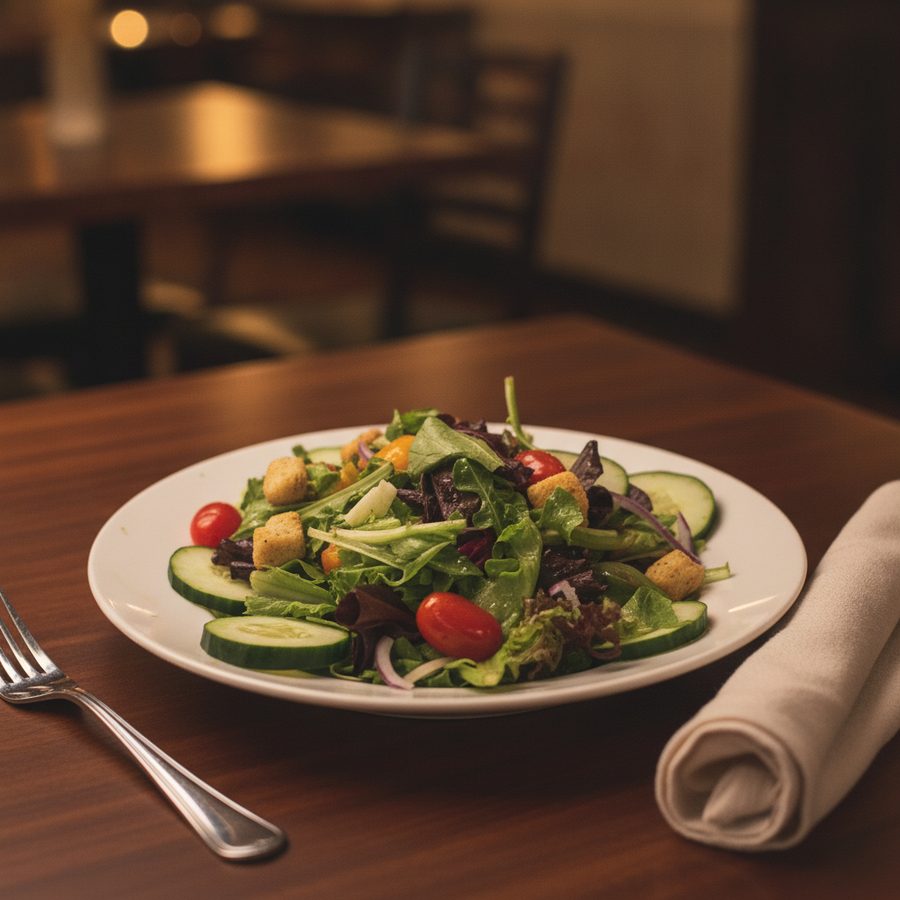
Print menus: leave room for the designer's layout and capture a large original that can support print resolution. The photograph may sit beside text, bleed to an edge, or appear as a small inset. Ask whether the layout needs horizontal, vertical, or isolated compositions before photographing the full menu.
Delivery apps: dishes must survive small thumbnails and platform-specific crops. Center the important food, leave a practical safe margin, and keep an untouched original for separate exports. Start with the delivery platform photo requirements hub, then check the current DoorDash photo requirements and Uber Eats photography guide before uploading. Requirements can change, so verify them for each platform as of July 2026.
Google Business Profile: prepare clean images that identify the dish even when shown among exterior, interior, and customer photos. A mix of horizontal and square-friendly frames is useful. Avoid placing the defining ingredient at an edge, because display crops vary across surfaces.
Instagram: capture enough space for square and vertical versions, and consider a second, closer frame for a feed or story. Social images can carry more atmosphere than a delivery listing, but the food should remain the clear subject. Save the original rather than repeatedly cropping an already compressed post.
A professional earns the fee when the images carry a large business risk or need skills beyond routine menu capture. A launch campaign, billboard, paid advertising library, franchise brand system, or styling-heavy editorial shoot benefits from art direction, controlled lighting, calibrated equipment, backup files, and planned usage rights.
Interior photographs also justify specialist experience. Balancing bright windows with a dining room, keeping vertical lines straight, directing staff, and making a busy space feel inviting are different tasks from photographing a plate beside a window. The same applies to hero compositions involving motion, pours, multiple dishes, or intricate props.
Prepare a brief before requesting quotes: shot count, dishes, locations, crops, delivery date, file sizes, and where the images will be used. Ask who supplies food styling and props, how revisions work, and what usage the license covers. For a practical decision framework, compare MenuCapture with a professional food photographer.
A professional does not have to photograph every routine update. Many restaurants get more value by commissioning a defining brand set, documenting its visual rules, and maintaining day-to-day menu coverage with a repeatable phone station.
Menu photos do not need their own project. The most reliable way to keep a menu current is to fold photography into the service you already run: shoot the plate as it goes out, clean it up once, and let that single image cover every channel.
AI editing sits after the camera. A tool like MenuCapture polishes a real photo your restaurant already took by adjusting crop, brightness, color, background presentation, and restrained cues such as steam or gloss. It does not replace the need to plate and photograph the dish, and it should not fabricate a meal the kitchen does not serve.
The source still sets the ceiling. AI can clean a distracting setting and bring a dim but visible dish into balance. It cannot reliably restore detail that was never focused, reveal an ingredient hidden behind another, or prove the correct portion. Retake severe blur, clipped highlights, blocked shadows, and inaccurate plating. The AI food photography guide explains this source-first workflow.
Use editing for repeatable production work: straighten and crop a batch, bring exposure into the same range, neutralize inconsistent color, and make backgrounds coherent across a menu. A set of copy-paste editing prompts covers the common corrections. Compare the economics and tradeoffs in the AI versus traditional photography guide. Human review remains essential because the restaurant knows the recipe and service presentation.
Start with the problem actually present. Follow the guide to fix dark food photos when ingredients are visible but underexposed, or the guide to correct yellow food photos when warm room lights distort color. For missed focus or camera movement, use the blurry menu image checklist to decide whether a limited correction is enough or a reshoot is more honest.
Before publishing, compare the result with the untouched photo and the actual plate. Check the count and position of ingredients, portion, garnish, doneness, vessel, shadows, and edges. If editing changed what is sold, reject that version. The useful outcome is a cleaner presentation of the same food, not a new dish.
No. A current phone can produce useful menu photos when the lens is clean, the food is in soft light, and the camera is held steady. A dedicated camera gives a photographer more control, but light, plating, angle, and consistency usually matter more than the device for everyday menu listings.
Soft daylight from the side is the simplest starting point. Place the dish near a window without direct sun, turn off overhead lights, and use a white card opposite the window if the shadow is too deep. This setup keeps color believable and reveals texture without the hard reflections caused by phone flash.
They can look artificial if editing invents ingredients, changes the portion, or pushes color and texture too far. Good AI editing starts with a real photo, keeps the dish recognizable, and makes restrained corrections to crop, exposure, color, background, steam, and gloss. The final image should still match the plate a customer receives.
Use the same shooting area, background family, light direction, camera height, and crop rules for every dish. Mark the phone and plate positions with removable tape, save an untouched original, and compare each finished image with two or three approved reference photos before publishing it.
Once the station is ready, a straightforward dish can take a few minutes to plate, check, and photograph. Styling-heavy dishes, melting desserts, drinks with condensation, and group compositions take longer. Prepare the surface, props, and camera first so hot food is photographed promptly after it leaves the kitchen.
A professional is often worth the cost for a major brand campaign, a new restaurant launch, interior and staff images, complex advertising compositions, or a small set of defining hero photographs. DIY phone photos or AI-assisted editing are often more practical for routine menu additions and frequent seasonal changes.
Each published photo should represent the exact item attached to it. Start with signature dishes, popular items, and plates that customers may not recognize by name, then expand the set. Do not reuse one image for visually different dishes, and replace a photo when the recipe, portion, or plating changes.
Lighting for real restaurant conditions: windows, dim dining rooms, and warm bulbs.
How AI photo editing improves real dish photos, and where it does not fit.
A step-by-step guide to shooting your own menu photos.
Shoot menu-ready dish photos with a phone you already own.
MenuCapture edits existing dish photos for clear, believable menu presentation while keeping the restaurant's real food at the center.
View pricing