Essential Equipment for Food Photography
Restaurant menu photos need three things: a camera, a lens and a light source, plus a tripod and a white card. Not sure the gear is the problem? Use the free photo analyzer on a photo you took with what you have.
By Max (@bangkokbuild). Updated .
Good menu photos come from control over light and framing, not from the most expensive kit. This guide lists the equipment for food photography that makes a difference in a restaurant, in the order to buy it, and what you can skip.
The short list
| Item | Why it matters | Buy it when |
|---|---|---|
| The phone you have | Good enough for most menu and social photos in good light | Now: you already own it |
| White foam board | Bounces light into shadows | Now: it costs very little |
| Small tripod with a phone clamp | Sharp photos and the same angle for every dish | First real purchase |
| One LED panel or light with a softbox | Steady light when there is no usable window | When you shoot at night or in a windowless room |
| Two or three surfaces | Backgrounds that match your restaurant | When the table you have does not fit the food |
| Dedicated camera and a 50mm lens | Cleaner low light photos and softer backgrounds | When the phone starts to limit you |
Cameras: phone, DSLR or mirrorless
The camera you need may already be in your pocket. The choice comes down to how much control you want and what you want to spend.
| Camera type | Best for | Pros | Cons |
|---|---|---|---|
| Smartphone | Social posts, menu updates, starting on no budget | No extra cost; easy to share; good in good light | Struggles in low light; little control over background blur |
| DSLR | Full manual control and a large choice of lenses | Long battery life; many affordable used lenses | Heavier; harder for beginners |
| Mirrorless | Manual control in a smaller body | Live preview of the exposure; strong autofocus | Lenses cost more; shorter battery life |
Smartphones
A current phone takes good menu photos when the light is right. The limit is the small sensor: in a dim dining room photos look grainy or soft, and a truly soft background is hard to get.
DSLR and mirrorless cameras
A dedicated camera has a larger sensor and takes interchangeable lenses. The larger sensor gathers more light, so photos stay clean in a dim room. Both types give full manual control over aperture, shutter speed and ISO.
A mirrorless camera shows the final exposure in the viewfinder before you shoot. That makes manual settings easier to learn. A DSLR shows the scene through the lens, and you check the result after each shot.
Current models and prices by budget are in our guide to the best camera for food photography on any budget. Our restaurant photography guide covers how to plan and run the shoot itself.
Lenses
If you buy a dedicated camera, the lens shapes the photo more than the body does. Two lenses cover nearly every menu photo.
50mm: the everyday lens
A 50mm lens sees roughly as the eye does, so food looks natural, without stretched edges. It suits a plate with a little of the table around it, overhead shots and 45 degree angles. A 50mm f/1.8 is one of the cheapest lenses you can buy and a clear step up from a kit lens.
100mm macro: the close up lens
A macro lens focuses very close. It shows the crust on a seared steak, the layers in a pastry or the herbs on a bowl of pasta, and blurs the background strongly. Use it for detail shots that prove the quality of the food.
Use the 50mm to show the dish, then the 100mm for the details.
Light
Light is the part of the kit that changes the photo most. You can work with the window you have, or add one light of your own.
Window light
A large window with soft, indirect light is the best free light source. Put the dish beside the window so the light comes from the side; side light shows texture and shape. Do not shoot with the window behind you, because front light makes food look flat.
If direct sun shines in, tape a thin white sheet or parchment paper over the glass. It spreads the light and softens the shadows.
One light of your own
Window light changes through the day and is gone at night. If you shoot during dinner service or in a room without windows, add one light.
- LED panel: a continuous light that stays on, so you see exactly how it falls on the food. Set it to daylight color so it matches the window. This is the easiest choice for beginners.
- External flash: a strong burst of light that overpowers warm room light. It needs a wireless trigger to use off the camera, and you only see the result after the shot.
Never point a bare light straight at the food. It gives the same hard shadows and glare as direct sun. Our comprehensive guide to food photography lighting techniques shows how to place one light in a real restaurant.
Modifiers: softbox and reflector
A modifier sits between the light and the food and changes the quality of the light.
- Softbox: a fabric box over the light. Its white front turns a small, hard light into a large, soft one, much like a window. A 2x3 foot softbox is a useful size to start with.
- Reflector: a sheet of white foam board opposite the light bounces light back into the shadow side of the dish. A black board does the opposite and deepens the shadows for a darker mood.
One light, a softbox and a white board give you window-like light at any hour.
Accessories that make the photos consistent
Tripod and timer
A tripod holds the camera still, so photos stay sharp in dim rooms. It also keeps the angle the same from dish to dish, which makes the menu look consistent, and it frees your hands to adjust the plate.
Pressing the shutter can shake the camera. A remote shutter fixes that, and so does the 2 second or 3 second timer built into most cameras and phones.
Surfaces and props
The surface under the plate sets the mood of the photo. A few surfaces cover most dishes.
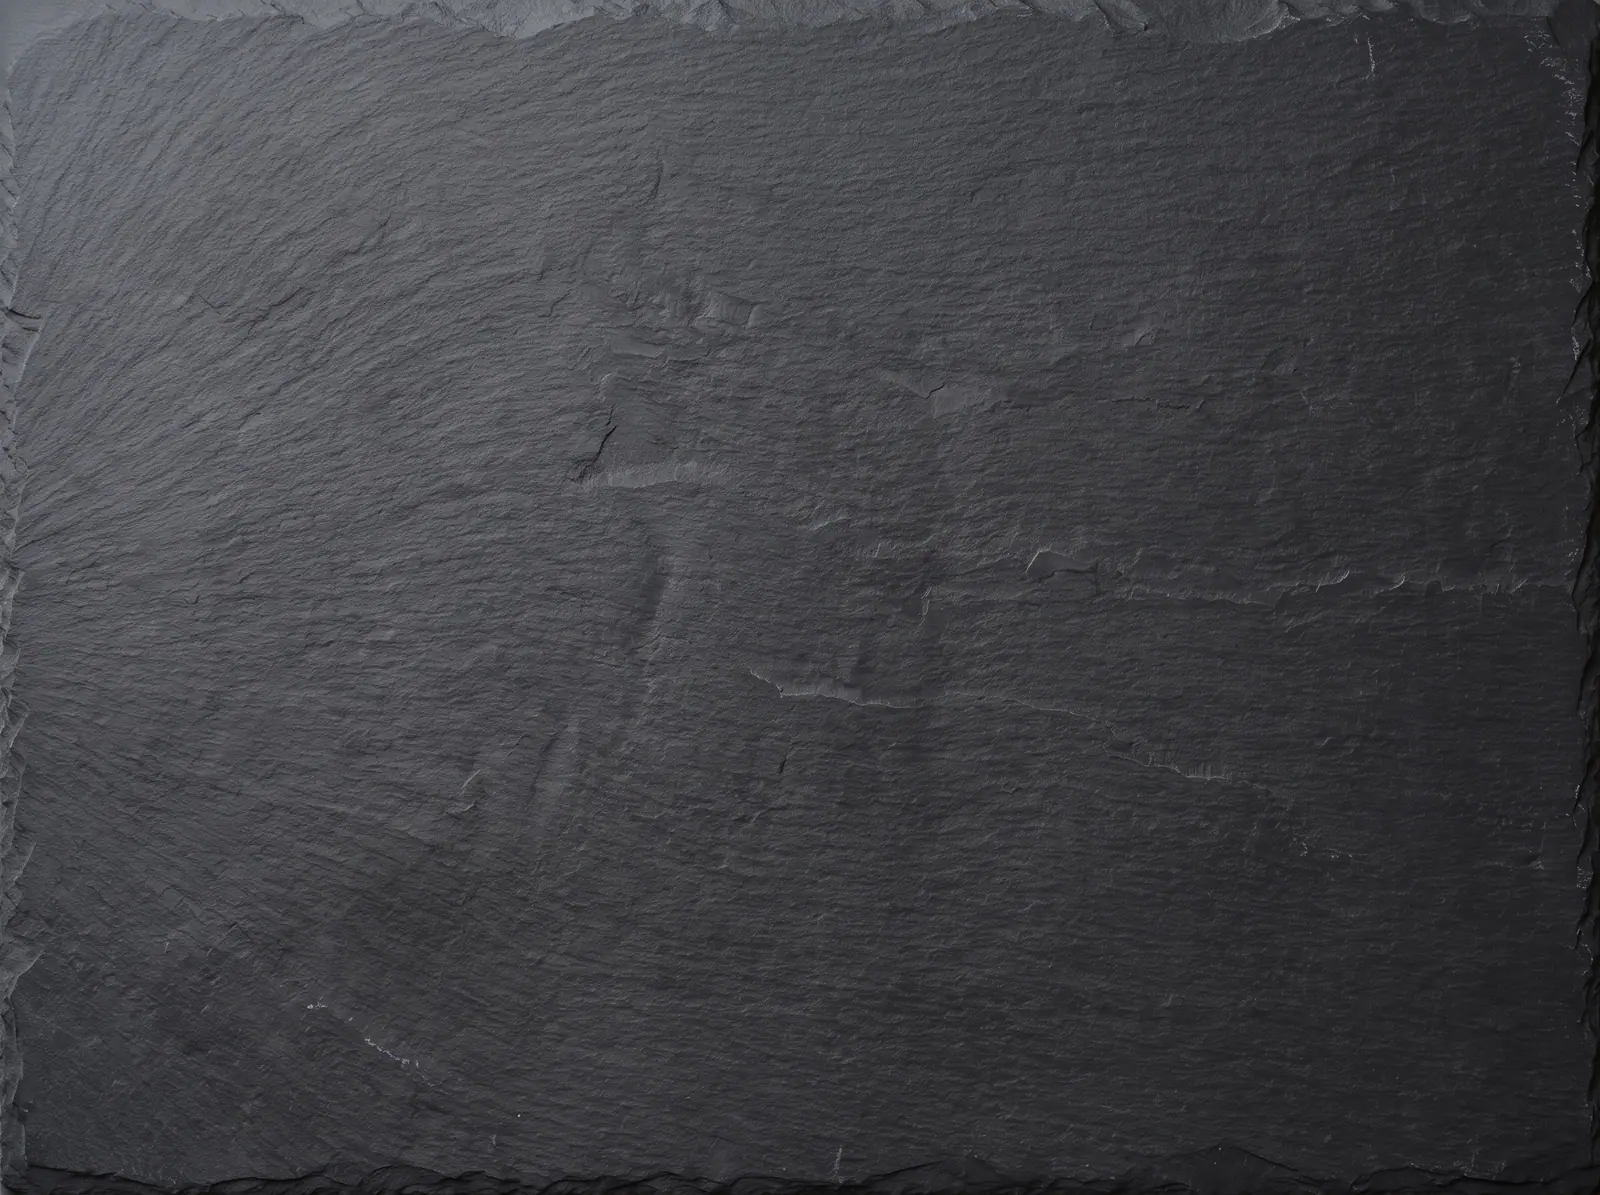
- Vinyl backdrops: rolls printed to look like wood, marble or slate. They wipe clean and roll up for storage.
- Tiles and planks: a slate tile or a couple of weathered planks from a hardware store.
- Props: keep them few. A linen napkin, one fork or a small dish of a key ingredient is usually enough. Choose items that fit your restaurant.
What you can skip
- A second camera body. One body is plenty.
- Expensive zoom lenses. A 50mm prime does most of the work.
- A studio light kit. One light and a reflector are enough for a plate of food.
- A big prop collection. A few surfaces and plain plates go further than a cupboard of props.
Where editing fits
Gear gets you a good original. Most photos still need a little correction for light and color before they go on a menu.
MenuCapture edits the photo you took of your real dish. You type the change, such as "make the sauce glossier" or "change the lighting to warmer", and most edits are ready in about 15 seconds. Every version is kept, so you can go back to an earlier one. On the annual plan that is $0.04 per photo, or $0.06 per photo on the monthly plan. It works with phone photos, so you can start before buying any of the gear above.
Frequently Asked Questions
Can I just use my smartphone for food photography?
Yes. Current phones take good food photos, especially in window light. Food photography depends more on light and composition than on the camera. A dedicated camera helps in low light and for a soft background, but the phone is the right place to learn.
If I can only buy one thing, what should it be?
A light, or a tripod if you already have a good window. One LED panel with a softbox improves photos more than a new camera or lens, because light is what makes food look fresh and three dimensional. If you shoot by a window, a small tripod is the better first buy.
What is the cheapest way to get good backgrounds?
Vinyl backdrops are cheap and come in wood, marble and slate prints. A single slate tile or a few wood planks from a hardware store also work. A large white or black foam board makes a clean, plain background that keeps the focus on the dish.
Is a tripod really necessary?
For dim rooms and for a consistent menu, yes. A tripod holds the camera still, so photos stay sharp, and keeps the same angle for every dish. It also frees your hands to arrange the food and hold a reflector. A basic tabletop tripod with a phone clamp is enough.
Turn your menu photos into orders
MenuCapture edits your real dish photos into clear, appetizing menu images that help you win more orders.
View pricing