How to Fix Blurry Menu Photos
(And When to Just Reshoot)
Blurry photos are the one problem AI cannot solve. Here's how to prevent blur in the first place, and when you need to reshoot instead of trying to fix it.
- See the six reasons menu photos come out blurry
- Learn why platform compression makes soft photos look worse
- Prevent blur with a tripod, focus taps, and more light
- Know the line: AI fixes light and color, not true blur
The Hard Truth About Blurry Photos
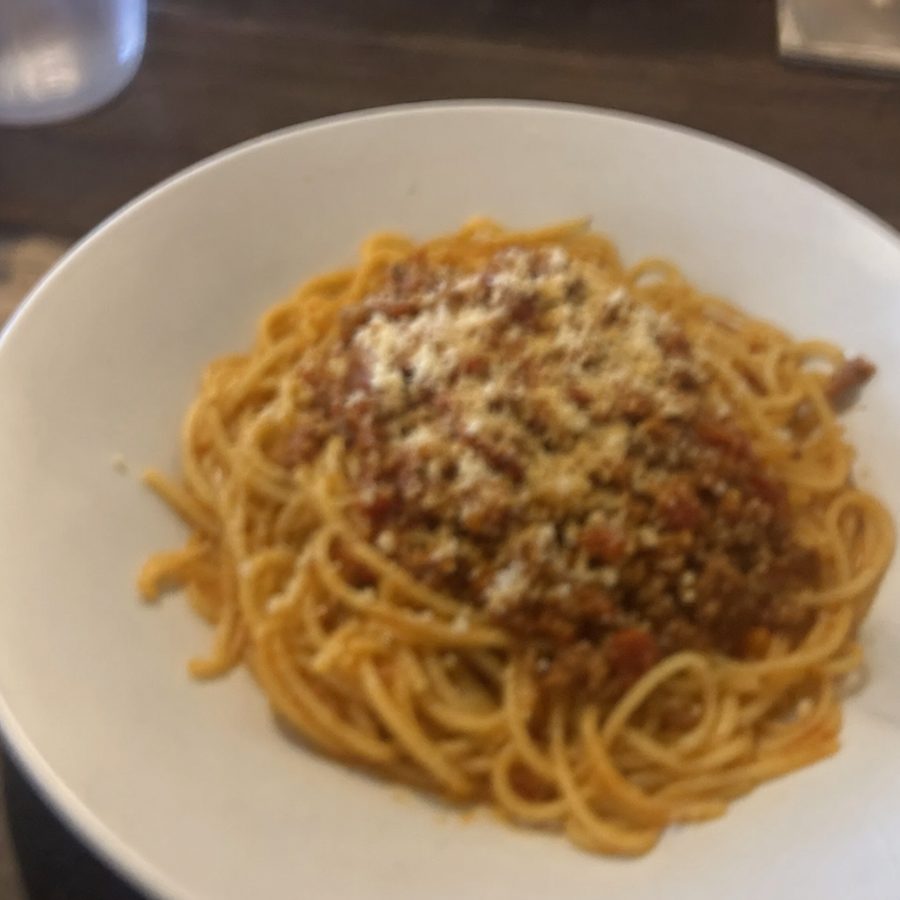
Unlike dark or yellow photos, blur cannot be truly fixed after the fact. AI "sharpening" tools just add artificial edges. They cannot recreate detail that was never captured. If your photo is blurry, you need to reshoot it.
On this page
Why Your Menu Photos Are Blurry
The root cause: Restaurant lighting is designed for ambiance, not photography. Low light forces your phone to use slower shutter speeds, making any movement visible as blur. If your photos are also coming out dim, fix both problems at once with the dark food photos guide.
Before
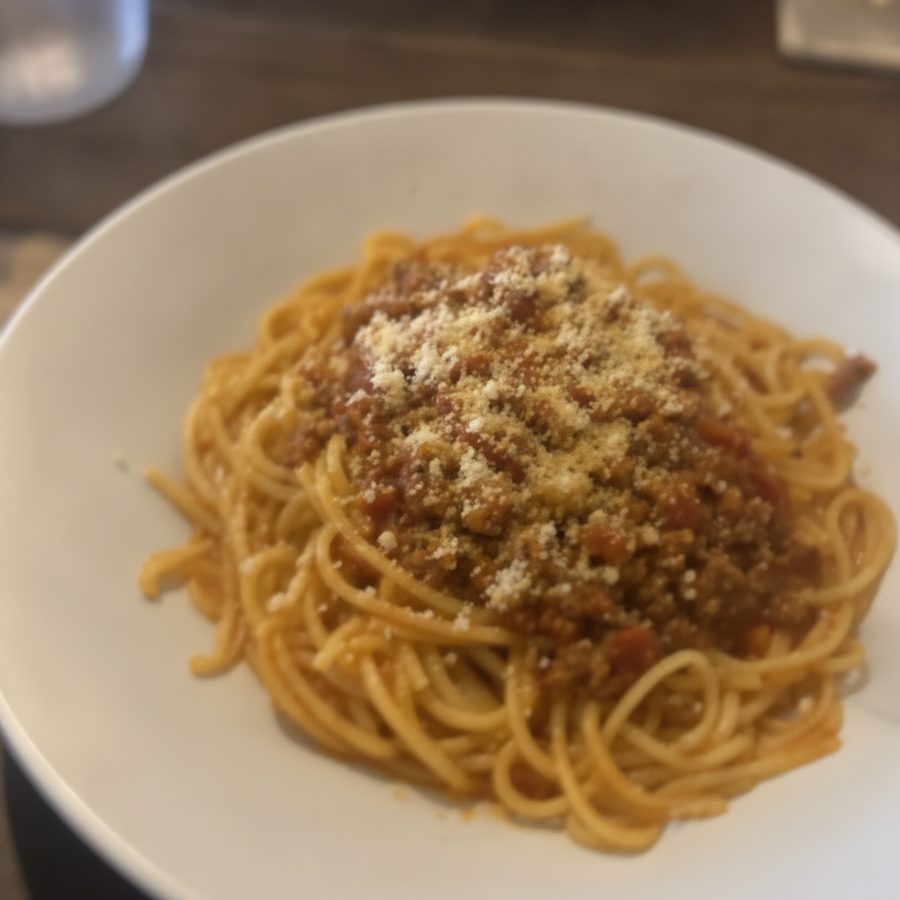
After
Why Platforms Make Soft Photos Look Worse
A photo that looks acceptable on your phone can look noticeably worse once it's live on a delivery app. That's not your imagination. Every platform re-compresses uploads to keep their apps fast, and compression works by discarding fine detail. A tack-sharp photo has detail to spare, so it survives the process. A slightly soft photo loses the little definition it had, and what was borderline on your screen becomes mush in the app.
Thumbnails compound the problem. Customers first see your dish as a small tile in a scrolling list, which means another round of downsizing. Soft edges that were barely visible at full size turn the thumbnail into a vague colored blob next to a competitor's crisp one. This is why the platforms enforce sharpness in their quality reviews: Uber Eats and DoorDash both reject photos their systems score as blurry, which is exactly what happens in the Uber Eats and DoorDash rejection flows.
The practical takeaway: aim for photos that look sharp when you zoom in to 200 percent, not just at a glance. That margin is what survives compression. Shooting at your camera's full resolution and uploading the largest file the platform allows gives the compressor more to work with.
Can Your Blurry Photo Be Saved?
Different types of blur have different solutions. Here's how to identify yours.
How to Prevent Blurry Photos
Since blur cannot be fixed after shooting, prevention is everything. These techniques work.
Phone Settings for Sharper Photos
What AI Can (and Cannot) Fix
Enhancement earns its keep on everything around the blur problem. If a photo is sharp but dark, yellow, or cluttered, tools like MenuCapture rescue it in seconds and save you a reshoot. The honest limit: enhancement works with the detail your camera captured. When the detail was never recorded, because the phone moved or focused on the tablecloth, there is nothing to enhance. Here is where the line falls in practice:
Rule of thumb: If you can clearly see the food's texture and edges, AI can improve it. If you can't identify what the dish is, reshoot.
Frequently asked questions
No. AI sharpening adds artificial edges to make images appear crisper, but it cannot recreate detail that was lost due to blur. The result looks processed and unnatural. If your photo is noticeably blurry, reshoot it.
Free: Brace your elbows on a table and use your phone's volume button to take the shot (less movement than tapping the screen). For about $10, a basic phone tripod works well. Even cheaper: stack some books and lean your phone against them.
Likely a focus issue. Your phone may be focusing on the plate, table, or background instead of the food itself. Tap on the main dish before shooting to lock focus. If shooting close-ups, some phones struggle, so try backing up slightly and cropping later.
Yes. Uber Eats, DoorDash, and most platforms reject photos that are noticeably blurry. Their image quality checks look for sharpness and clarity. Use our Platform Checker to test your photo before uploading.
Two reasons. Phone screens are small and forgiving, so borderline softness hides at arm's length. And platforms re-compress every upload, which strips fine detail from photos that were already soft. Judge sharpness by zooming to 200 percent before you upload. If it holds up there, it will survive the platform's compression.
Minor softness (where you can still see textures and edges clearly) can be improved with AI sharpening. True blur (where edges are smeared or the food is unrecognizable) cannot. If you can clearly identify what the dish is and see its texture, AI may help.
Keep reading
Fix Dark Food Photos
Brighten underexposed dish photos without washing out the food.
Fix Yellow Food Photos
Correct the yellow color cast from indoor restaurant lighting.
Smartphone Menu Photography
Shoot menu-ready dish photos with a phone you already own.
Food Photography for Restaurants
The craft hub: lighting, styling, and shooting dishes for your menu.
Got Sharp Photos That Need Color Correction?
If your photos are in focus but too dark, too yellow, or need better lighting, MenuCapture can fix those in 30 seconds. Blur is the only thing we cannot undo.
Fix My Photo Colors