Burgers and sandwiches
Shoot around 45 degrees or slightly lower so the stack and fillings show. Face the cleanest cut or open side toward the lens, tuck loose greens into the build, and keep the top bun from hiding the protein.
A restaurant-owner playbook for menu photos you can shoot, style, and reuse yourself.
Updated July 2026
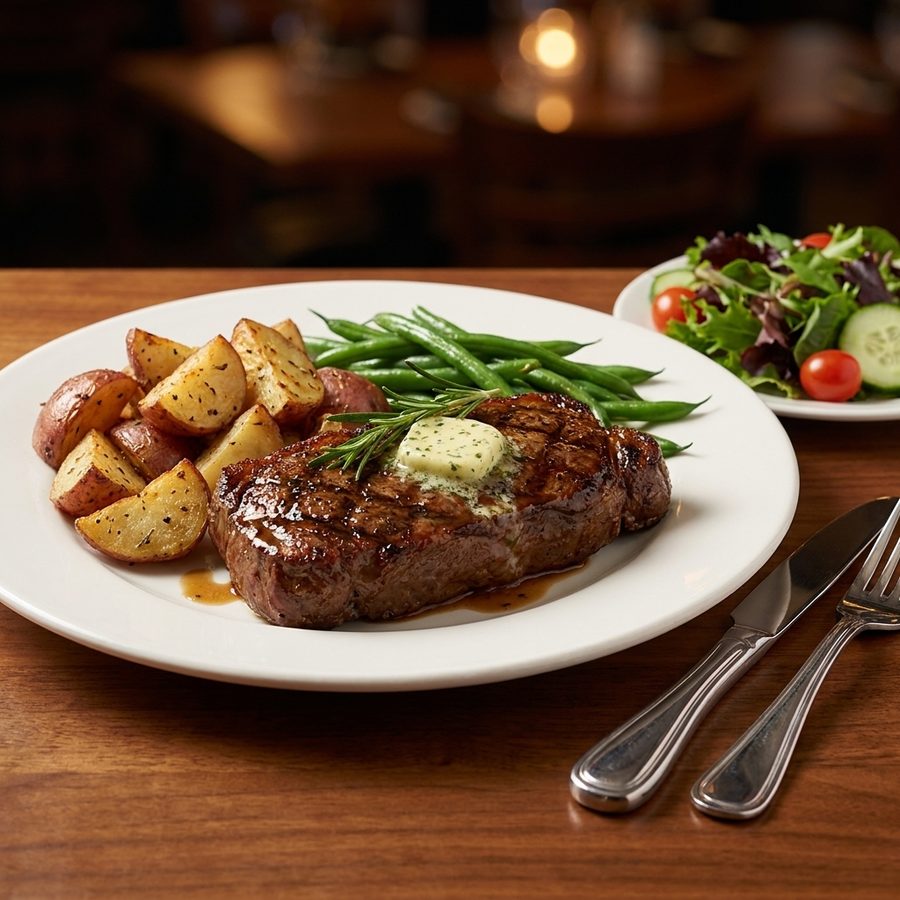
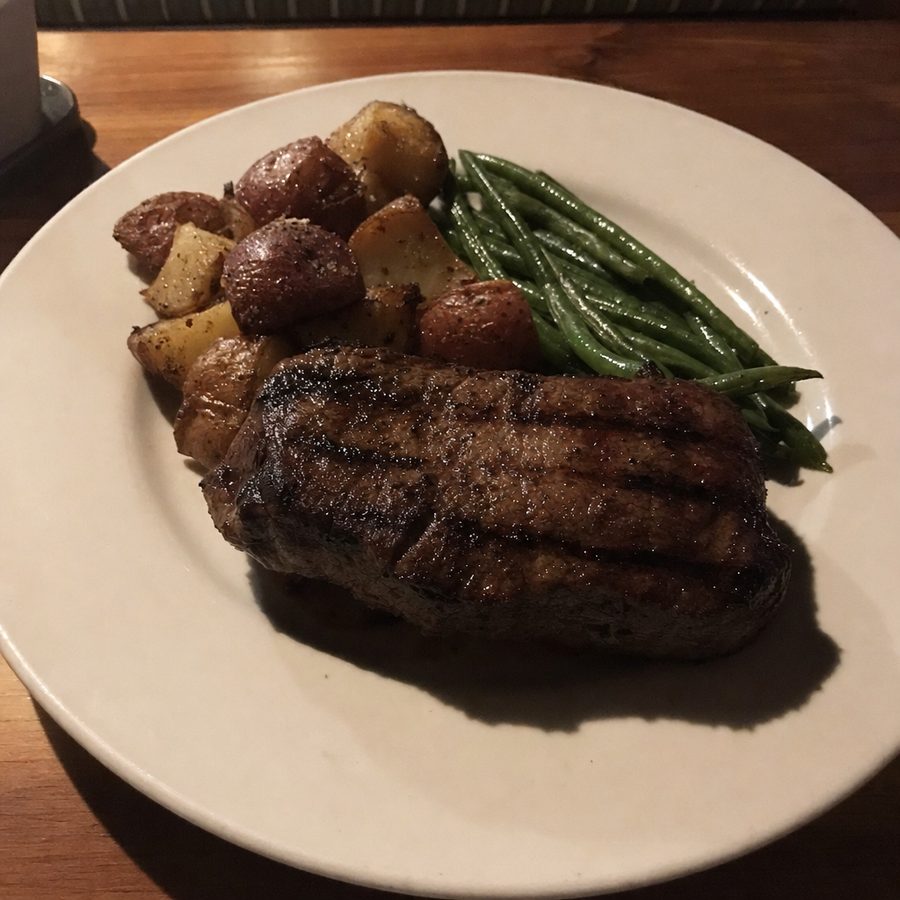
A delivery customer often encounters your food as a grid of small thumbnails, names, and prices. They cannot smell the kitchen, see a plate cross the dining room, or ask a server what a dish looks like. A clear photo helps them recognize the item, understand its ingredients, and compare it with the choices around it.
The photograph also makes a promise. It sets expectations for portion, toppings, sides, packaging, and presentation. Show the single item being sold and make sure the visible components match what your kitchen serves. When the recipe or plating changes, the photo should change too. Accuracy matters as much as visual appeal because a misleading image creates disappointment at the door.
Consistency helps the menu feel deliberate. If one dish is bright and close while the next is dark, distant, and photographed on a different surface, customers have to work harder to interpret the menu. A repeatable angle, light direction, crop, and color treatment lets the food remain the focus. Accurate photos also give staff a shared visual reference and reduce the conditions that lead to avoidable complaints or refund requests.
Photos can clarify choices that names alone leave ambiguous. A customer can see whether fries are included, how a sauce is applied, whether a bowl is mixed or composed, and which toppings define a variation. That visual information should support the written description, not contradict it. Photograph meaningful variants separately when they look different enough that sharing one image could mislead a customer.
Strong menu photography treats the full menu as the product, not each photograph as an isolated advertisement. A restrained, accurate set lets customers move quickly between categories while keeping expectations grounded in what the kitchen can reproduce on an ordinary service day. That is a more durable target than making one dish look unusually elaborate for the camera.
These routes solve different problems. Professional shoots commonly cost about $750-2,000 per menu shoot, but the final estimate depends on location, dish count, styling, licensing, and production needs.
Plan the session before any food is fired. Make a shot list with the menu name, plate, included sides, garnish, and intended angle for every item. Put signature dishes and items that lose their appearance quickly near the start, when the station is tidy and everyone is fresh. Group the rest by kitchen station so the team is not switching repeatedly between cold prep, fryer, grill, and dessert work.
Set up during a quiet period and photograph a test plate first. Lock down the surface, phone position, light direction, and approximate plate position. Compare the test with the menu listing at thumbnail size. Once the setup works, resist changing it for every dish. A repeatable setup is what makes twenty independently plated items look like one restaurant menu.
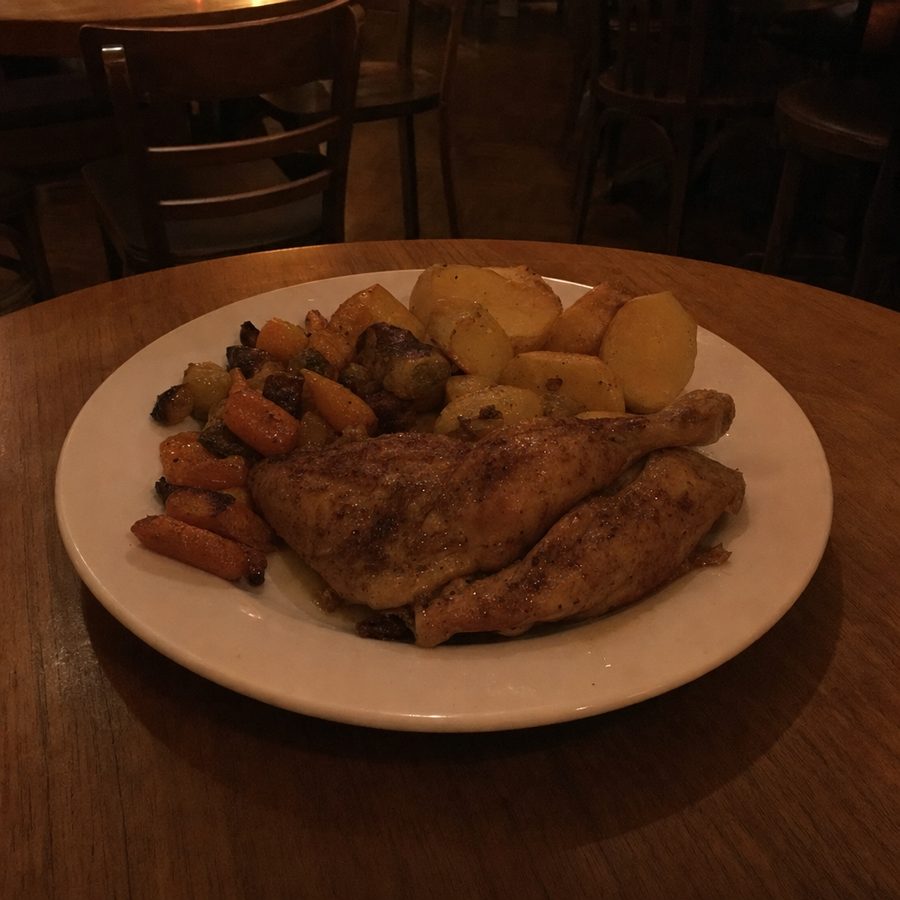
Before
After
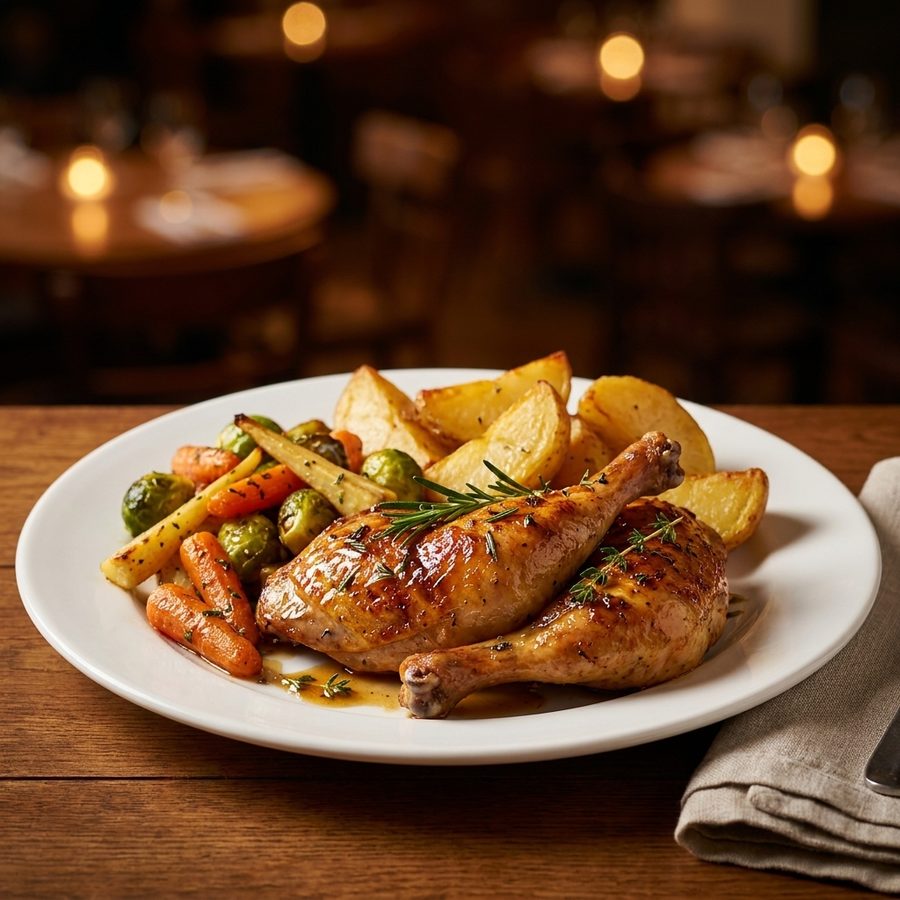
Keep the station consistent, then adapt angle and styling to the visual information each dish needs to communicate.
Shoot around 45 degrees or slightly lower so the stack and fillings show. Face the cleanest cut or open side toward the lens, tuck loose greens into the build, and keep the top bun from hiding the protein.
Use a high three-quarter angle to see into the bowl while preserving depth. Arrange noodles, protein, vegetables, and garnish in distinct areas, and wipe broth drips from the rim before steam fogs the lens.
Shoot straight down or from a high angle so ingredients read across the whole surface. Distribute color and the featured protein evenly, lift a few leaves for volume, and add dressing just before the shot so greens stay crisp.
Use straight down for the full shape, or a low 45-degree angle when crust thickness matters. Rotate the pie until toppings look balanced, separate one slice slightly if it helps define portions, and remove scorched crumbs that are not part of the serving.
Photograph tall drinks near eye level and desserts around 45 degrees to show layers. Wipe the glass, refresh condensation or foam, and keep backlight from blowing out pale liquids. For cake or pie, turn the clean cut face toward the camera.
Before
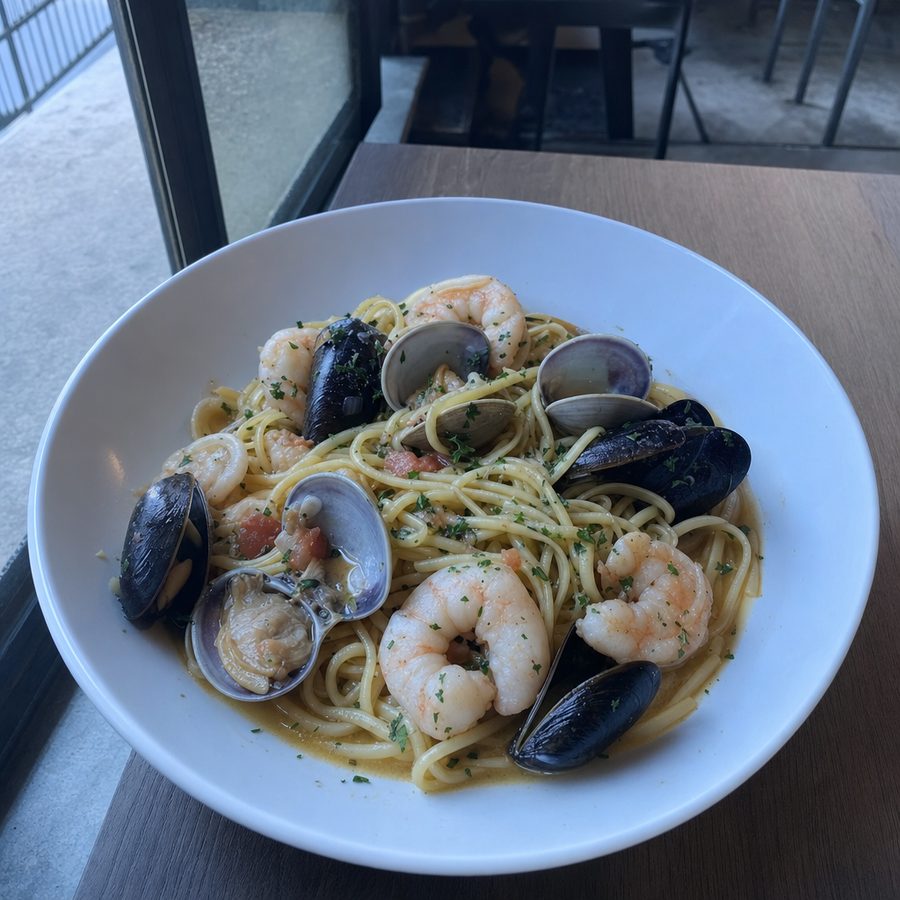
After
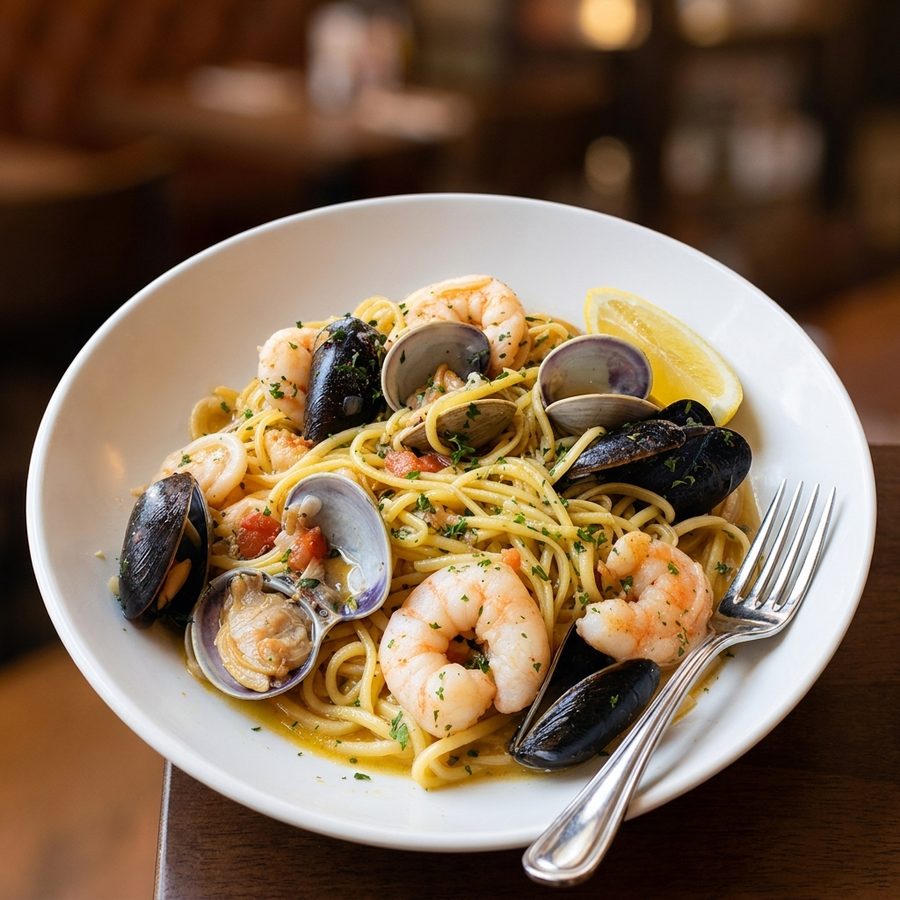
Print gives a designer control over the page. An image can be square, vertical, full bleed, or placed beside type, and a styled scene can establish atmosphere. Delivery apps place images in fixed frames and small thumbnails. Their interfaces may crop edges, so a delivery image needs one clear subject near the center with safe space around important ingredients.
Resolution and file handling differ too. A print designer may request a large original suitable for the physical dimensions of the menu. Delivery services impose their own image dimensions, aspect ratios, and file-size limits. Keep the largest clean master, then resize and compress copies. Do not repeatedly save over one small app export and expect it to work for print later.
Content rules also change the composition. A print spread can show hands, several dishes, tableware, and a dining-room setting when the layout calls for it. Delivery listings generally need the single item being sold, accurately framed without distracting scenes or promotional overlays. Across an app menu, consistent light, white balance, camera height, and crop are especially important because customers see many images together in a grid.
Plan for both uses by capturing a clean safety frame after the primary shot. Pull the phone back slightly without changing the angle or light. The wider frame gives a print designer room for text and gives app exports room for fixed crops. Do not compose text into the photograph itself. Keep names, prices, badges, and promotions in the print layout or platform fields so the underlying food photo stays reusable.
Review in context before approving the set. For print, place a draft image at its intended physical size and check whether fine detail survives. For an app, shrink several dishes into a simple grid and look for sudden shifts in brightness, color, scale, or background. Fixing those differences as a group creates a more coherent menu than perfecting every image in isolation.
Build the set around a clean, high-resolution master of each dish. Shoot a little wider than the final frame, keep the food near the center, and preserve the untouched original. That source gives you room to create a landscape crop for one service, a different crop for another, and a print version without reshooting the kitchen.
Export separately for each destination because requirements and review rules can change. Use the DoorDash photo requirements, Uber Eats photography guide, and PedidosYa photo requirements when preparing those uploads. The delivery platform photo requirements comparison provides the broader workflow.
Name exports by dish and platform, and keep them in separate folders from the masters. Check the crop at thumbnail size before uploading. Confirm that the entire item is recognizable, no defining topping sits against an edge, and the photo still represents the current recipe, portion, and included sides.
Menu photography does not need its own project. The most reliable way to keep a menu current is to fold it into the service you already run.
If you already own a phone and use available window light, there is no required cash outlay. The real cost is your time, the ingredients used for the shoot, and any service interruption while dishes are plated. A simple background and a white card for reflected light are enough to begin.
Yes. A recent phone can produce menu-ready photos when the lens is clean, the dish is well lit, the camera is steady, and focus is placed on the food. Light and styling usually matter more than buying a new camera. Use the main rear camera rather than digital zoom, and keep the original high-resolution file.
The right angle depends on the dish. Use about 45 degrees for food with height or visible layers, such as burgers and cake slices. Use straight down for flat, graphic arrangements such as pizza, salads, and shared plates. For bowls, raise the phone enough to reveal the contents without flattening their depth.
Place the dish beside a large window with indirect light coming from one side. Turn off nearby overhead lights if they add a different color. Hang a thin white curtain to soften hard sun, and place white card opposite the window to lift deep shadows. Do not use the phone flash.
Yes, when the original clearly shows the real dish and is reasonably sharp. Editing can correct exposure, color, background clutter, and framing. Reshoot when focus is badly missed, the food is hidden, the wrong item or portion is shown, or the crop has removed essential parts of the plate.
Not for most day-to-day menu listings. Your kitchen team can plate the actual serving, wipe the rim, arrange loose ingredients, and add the same fresh garnish a customer receives. A food stylist becomes useful for complex campaign scenes, difficult products, or a large shoot where consistency must be maintained for many hours.
Take several frames from the chosen angle, then add a slightly wider safety frame and, when useful, a second angle. Small shifts in focus, steam, garnish, or hand movement can decide which image works. You usually need one final menu image per listing, but keeping multiple originals gives you options for different crops.
You can reuse a photo your restaurant owns when each platform permits it, but export a separate copy for every service. DoorDash, Uber Eats, PedidosYa, and other platforms use different framing and file rules. Check the current platform guides before cropping and uploading each version.
Check the DoorDash guide, Uber Eats guide, PedidosYa guide, and cross-platform comparison.
The craft hub: lighting, styling, and shooting dishes for your menu.
Shoot menu-ready dish photos with a phone you already own.
How AI photo editing improves real dish photos, and where it does not fit.
Using AI to clean up plating and background before a photo goes on your menu.
Edit existing photos with MenuCapture for $9/week or $159/year, with 1,500 edits a month.
View pricing