AI Food Photography for Restaurants
Editing a real photo of your dish and inventing one from a prompt are different jobs. For a live menu, start with the real food your kitchen serves.
- Edit real photos of the dishes you serve, not generated or stock images
- Correct lighting, color, background, and crop while keeping the dish recognizable
- Meet DoorDash and Uber Eats rules that a photo represent the real item
- Edit a full menu in a day or two at a predictable monthly cost
Updated July 2026
On this page
What AI food photography actually is
The phrase covers two processes that can produce polished food pictures. The first is AI-assisted editing. You photograph a dish that your restaurant made, then software corrects technical and presentational problems in that photograph. The second is AI image generation. You describe a dish in words, and software creates a new image that did not come from your kitchen or camera.
Both can be useful, but they do not make the same promise. An edited photograph says, “This is our dish, shown clearly.” A generated image says, “This is one possible visual interpretation of a description.” That distinction is easy to overlook on social media. It matters on a menu, where the image helps a customer decide what to order and sets an expectation for what will arrive.
MenuCapture is an editing tool. It starts with your photo of your food. The goal is not to design a more dramatic imaginary dish. The goal is to make the real subject easier to see, remove avoidable distractions, and format the photo for menu use without changing the identity of the meal.
Editing vs generation vs stock
A restaurant should know where each image came from. The origin determines whether it documents your product or merely resembles it.
What delivery platforms require
As of July 2026, Uber requires merchant-submitted item photos to “accurately represent a single item” from the menu. Read the official Uber merchant photo guidelines.
As of July 2026, DoorDash lists “not representative of the item” as a common rejection reason. Its guidance also says, “Don't use stock photos, images copied from websites, or third-party images.” Read DoorDash's official explanation of common photo issues.
These policies do not ban “AI images” by name. They focus on whether the photo accurately represents the item. That is the fair, useful test. A generated or stock image that does not match your item conflicts with that requirement. Editing a real photograph can fit the requirement when the result remains faithful to the dish.
Where AI image generation genuinely helps
Image generation is useful before a dish exists. A restaurant developing a new menu can use generated concept art to explore a direction, compare plating ideas, or give the kitchen a visual starting point for discussion. It can also create clearly illustrative visuals for a blog post or an advertisement that is selling an idea rather than presenting a specific menu item.
Internal brainstorming is another reasonable use. Generated images can help a team discuss color, composition, table settings, or the mood of a future campaign without arranging a photo shoot for every early idea. They can also suit social content when a reasonable viewer would understand that the image is illustrative, not a photograph of the exact food available to order. In those settings, generation is a creative tool, and it does not need to serve as product documentation.
The boundary changes when a customer is choosing and paying for a particular dish. The image beside that item should be a real photograph of the real dish the restaurant serves. This keeps the listing aligned with the delivery platforms' accuracy requirements described above and gives the kitchen a clear expectation it can meet. Generation can still support the ideas and communication around a menu, while real photography documents the product offered for sale.
How real-photo editing works
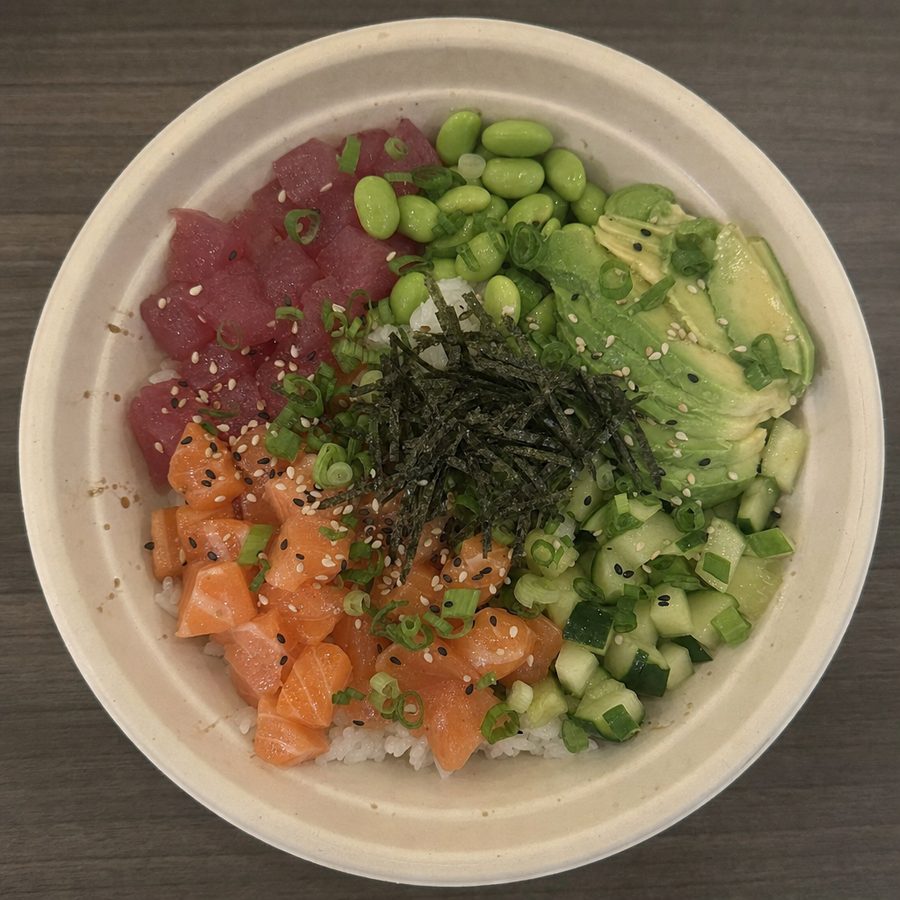
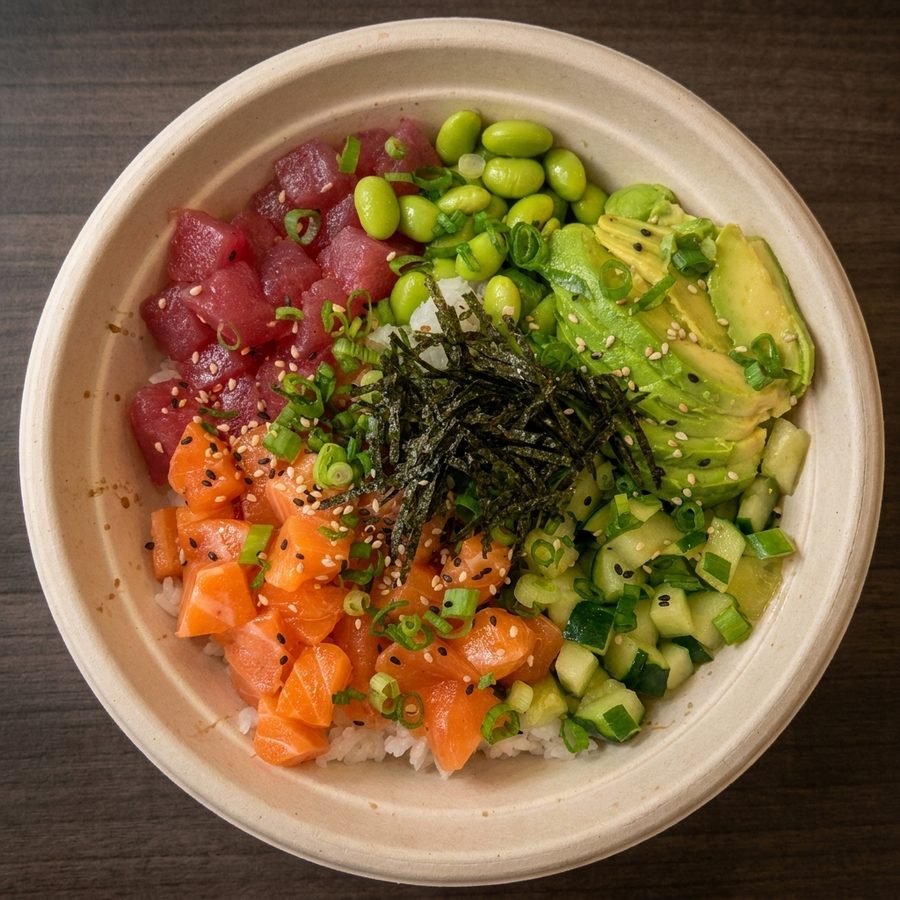
Start by plating the menu item as you normally serve it. Photograph the complete dish in steady, indirect light, with the main subject in focus. Upload that photo to MenuCapture, choose the presentation you need, review the edited result, and export the version that still represents the original plate.
Before
After
Shoot it during service, use it everywhere
Menu photos do not need their own project. The most reliable way to keep a menu current is to fold photography into the service you already run.
- Shoot the plate during prep or a normal service, right at the pass
- Upload the phone photo to MenuCapture from your phone or laptop
- The editor makes it menu-ready in about a minute and keeps the real dish
- One image covers the print menu, DoorDash and Uber Eats, Google Business Profile, and Instagram
What a good AI edit looks like
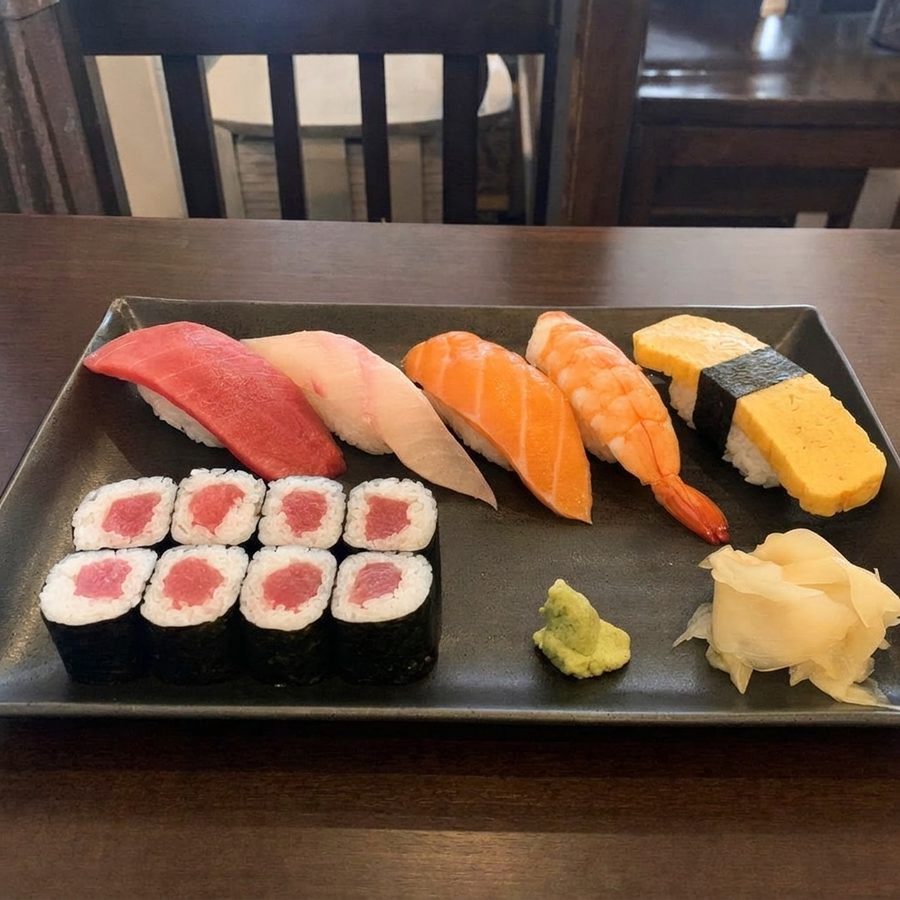
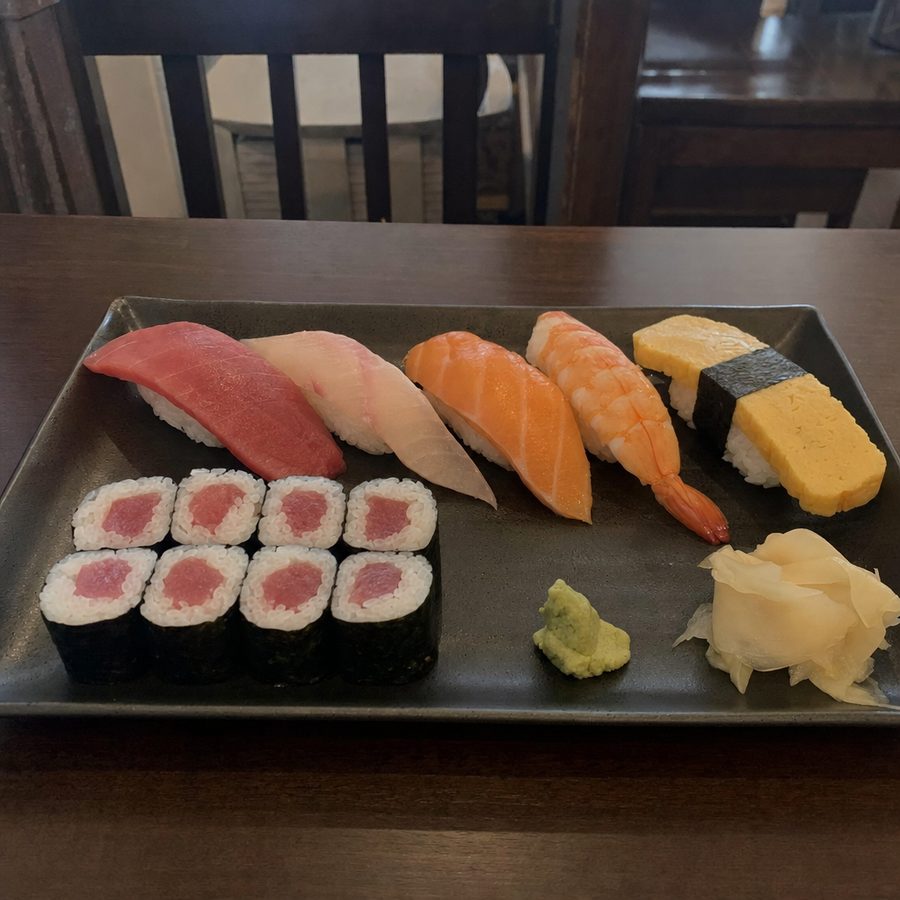
This sushi platter pair shows the purpose of a careful edit. The source is a real platter from the restaurant, shot in dim, flat light, and the finished image presents that same platter more clearly without redesigning it.
- Lighting: The exposure is corrected so the fish and rice are clearly visible, without inventing detail the camera did not capture.
- Background: Distractions are cleaned up so the platter is the subject.
- Color: White balance is corrected so the rice and fish look like they do in person, not greyer or muddier than reality.
- What did not change: The same pieces, count, arrangement, and garnish. It is the same real sushi platter, shown clearly.
A good edit makes the real dish easier to see; it does not turn it into a different dish.
A workflow for a 40-item menu
Photograph the menu in sessions organized by kitchen station or category. Keeping the camera position, setup, and lighting consistent makes the source photos easier to review. Editing each batch with the same visual choices then helps the complete menu read as one set.
Both MenuCapture plans include up to 1,500 edits per month. A 40-item menu uses a small fraction of one month's allowance and leaves plenty of room for reshoots and seasonal updates. At the full monthly allowance, the cost works out to 2.4 cents per edit on weekly billing or under 1 cent per edit on annual billing.
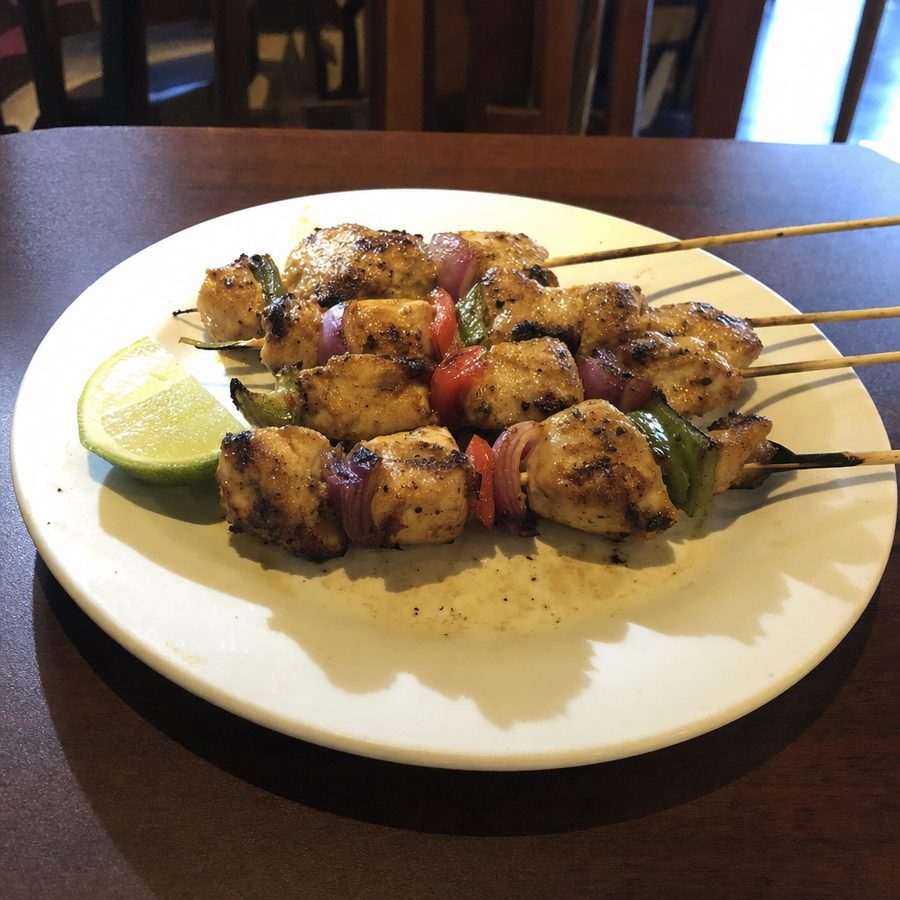
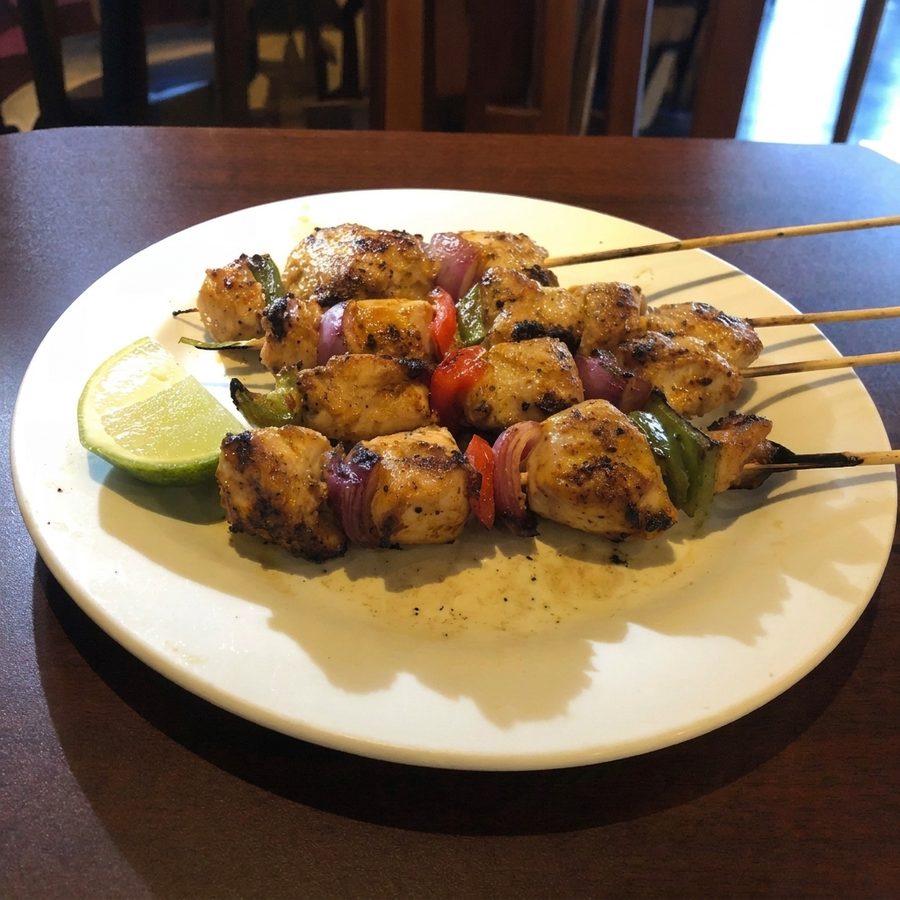
Once the photos are taken, editing the existing images for a 40-item menu can be done in a day or two of focused work. A booked professional shoot needs scheduling, and even a same-day shoot produces images on a set date rather than on demand.
Before
After
How to choose any AI food photo tool
Ask practical questions using your own menu, workflow, and publishing requirements before committing to a tool. Do not judge a tool only by a polished sample its maker chose. Test it on the same photos from your restaurant, including a simple plate, a reflective bowl, a mixed dish with many ingredients, and one difficult phone photo, then evaluate the results against the work your team actually needs.
- Does it start from a photo of your real dish, or does it generate an image? Only the former documents your menu.
- Does the output still accurately represent the dish, with the same ingredients, portion, and plating?
- What is the real cost at your volume, including any credit expiration or per-retry charges?
- Can it export at the resolutions and ratios the delivery platforms require, such as 16:9 for DoorDash and 5:4 to 6:4 for Uber Eats?
- How long does it take your team to go from photo to approved upload?
- Do you keep usable rights to the images across every platform you list on?
- Can you test it on your own hardest photos before committing?
For a structured review, see the AI menu photo tools comparison and the alternatives hub.
Transparent pricing
MenuCapture has two billing options. Both include up to 1,500 edits each month, so a restaurant can update individual dishes or work through a full catalog without buying credits one image at a time.
Honest limits of AI editing
Editing depends on a usable source. It cannot invent a dish you did not photograph and still claim to document your menu. It cannot restore reliable detail when the subject is entirely blurred, hidden, or outside the frame. It also cannot restyle plating that was never there without moving from documentation toward invention.
Reshoot when the food is out of focus, the portion is incomplete, or the camera angle hides the ingredients a customer needs to see. A quick reshoot is more honest and usually more effective than asking software to guess. Check the edited result for ingredients that changed shape, disappeared, or appeared unexpectedly.
Hire a photographer when you need a brand campaign, detailed prop styling, controlled splashes or motion, several complex lighting setups, or on-site direction for a large launch. A professional can make decisions before the shutter is pressed, which editing software cannot do. Compare the workflows in MenuCapture vs a professional photographer and read the broader guide to AI vs traditional food photography.