12 Food Photography Tips for Restaurant Owners
These 12 food photography tips are for restaurant owners who shoot their own menu photos: light, angle, styling, phone settings and the edit. Run your best shot through the photo analyzer for menu photos to see which tip it still needs.
By Max (@bangkokbuild). Updated .
On this page
Most menu photos fail for the same few reasons: dim light, a flat angle, a busy table or a color cast. None of these needs new gear to fix. The tips below work with a phone and a window, during the quiet hours before service. For the full workflow from plate to delivery app, start with the full menu photography guide.
1. Use window light as your main light
Daylight from a window shows the true color and texture of food. The phone flash makes food look flat and shiny, and dining room bulbs add a dim yellow tint.
A table next to a window during off hours is the whole setup. Moving the plate to that table gives soft shadows that show the shape of the dish.


How to use window light
- Pick a large window without direct sun. North facing windows give even light most of the day.
- Diffuse direct sun. If the sun shines straight in, hang a thin white curtain or tape parchment paper over the glass.
- Light from the side. Put the dish beside the window, not in front of it. Side light shows texture.
- Bounce light into the shadow. Prop a white card, a napkin or a menu on the far side of the plate.
- Turn off the flash and the overhead lights. One light source keeps the colors right.
The food photography lighting guide for a dining room covers dim rooms, glare on soup and drinks, and what to do when there is no window.
2. Compose with the rule of thirds
Turn on the grid in your camera settings. Instead of centering every plate, put the most important part of the dish, like the seared edge of a steak or a spoon of cream, on one of the four points where the lines cross.
- Leave some empty space around the dish so the eye goes straight to the food.
- Use leading lines. A fork, the edge of a napkin or a line of sauce can point toward the dish.
- Keep delivery app crops in mind. Apps crop to fixed shapes, so keep the whole dish well inside the frame for those versions.
3. Pick the angle that fits the dish
A tall burger and a flat pizza need different angles. Shooting every dish from one height hides what makes each one worth ordering.
- 45 degrees (the diner's view): the default for most plated food. It shows the top and the side.
- Overhead: pizza, soups, salads, bowls and boards, where the arrangement is the point.
- Eye level: burgers, sandwiches, stacks of pancakes, layered cakes and tall drinks.
Take a few frames from each angle. Extra shots cost nothing, and you pick the best one later.
4. Style the plate at the last second
Food plated to be eaten does not always look its best on camera. Small changes fix most of it.
- Add height. Stack or lift the main element a little so the dish does not look flat.
- Garnish with what is in the recipe. Cilantro on tacos, basil on pasta. Do not add food the customer will not get.
- Garnish right before you shoot. Herbs wilt and sauces dull within minutes.
- Use odd numbers. Three or five shrimp look more natural than four.
- Wipe the rim. Drips and fingerprints show up clearly in a close photo.
5. Use color contrast so the dish stands out
A dish gets lost when the plate or table is close to its own color. Swapping the plate is a free fix.
- Contrast warm food with cool plates. Orange curry in a blue bowl, red sauce on a gray plate.
- Go neutral when the food is colorful. White, gray, black or wood keeps a busy dish readable.
- Keep to two or three main colors per photo, so the frame does not look cluttered.
6. Choose a background and props that match your restaurant
The table surface sets the mood before anyone looks at the food. A rustic place can shoot on dark wood; a modern one on stone or plain white.
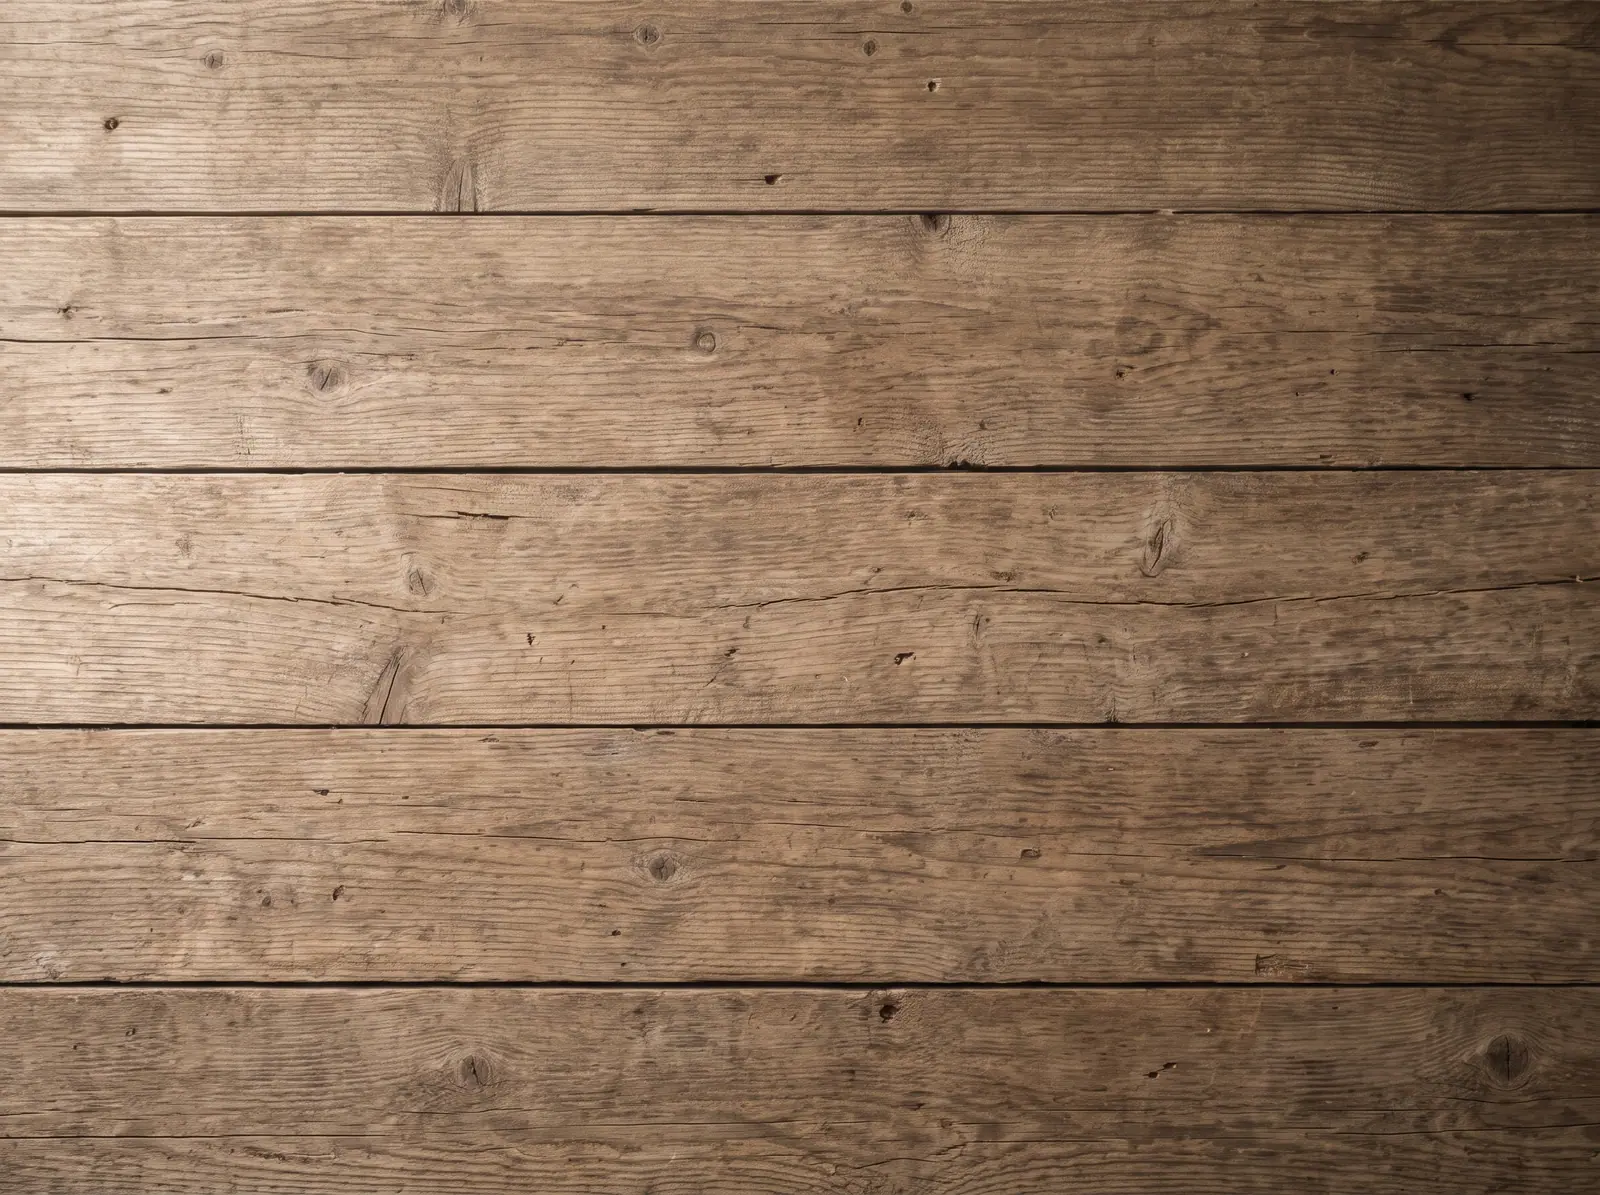
- Start with neutral plates. Plain white, gray or matte black plates do not compete with the food.
- Keep a few surfaces. A dark wood, a light wood, a stone tile and a linen cover most dishes. Hardware stores sell single slate or concrete tiles.
- Keep props few and relevant. A napkin, one fork and a glass of water are often enough.
- Test under your real light. A surface can look good alone and still clash with the dish.
If you do not have the right surface on hand, the food background generator swaps the background behind your real dish photo.
7. Control what is in focus
When everything is sharp, a cluttered dining room competes with the plate. A soft background keeps the eye on the food.
- On a phone: tap the most important part of the dish to set the focus. Portrait mode blurs the background, but check the edges of herbs and forks for smearing.
- On a camera: use Aperture Priority (A or Av) with f/2 to f/4 for a soft background, and f/5.6 to f/8 for an overhead shot where everything should be sharp.
- Move the dish away from the background. More distance gives more blur.
8. Get close to show texture
Crispy skin, flaky pastry and char on a steak are what make someone want the dish, and they disappear in a wide shot.
- Fill the frame with one detail, or crop in from a full resolution photo.
- Use low side light. It casts small shadows that show crumbs, grill marks and crackle.
- Show it is fresh. Steam over a bowl or a cheese pull, shot quickly after the plate leaves the kitchen.
- Steady the phone. Close shots show every bit of hand shake. A small tripod helps.
9. Set exposure, focus and white balance
Auto settings get confused by dim, warm restaurant light. A few manual changes give you steady results.
- Set exposure by hand. Tap the dish, then slide the sun icon up or down.
- Lock focus. Tap and hold on the dish until the lock shows, so the camera stops hunting.
- Watch the white balance. Warm bulbs turn white plates yellow. Shoot in daylight or correct the white balance before you post.
- Use RAW if your phone has it. It keeps more data for fixing light and color later.
10. Use the equipment you already have first
For online menus and social posts, a current phone with good light is usually enough. A dedicated camera gives you more control over focus and lenses, but light and composition matter more than the body.
- Learn light and angles on your phone before you buy anything.
- Buy a small tripod first. It removes shake and keeps the framing the same across dishes.
- If you buy a camera, spend on the lens. A 50mm prime on an entry body beats a kit lens on an expensive one.
Our full list of equipment for food photography covers cameras, lenses, lights and the cheap accessories that matter.
11. Edit every photo the same way
Photos from one shoot still vary in color and brightness. A consistent edit makes the whole menu look like one restaurant.
- Fix white balance first, so the whites are white, then the exposure.
- Prefer vibrance to saturation. Strong saturation makes food look artificial.
- Save one preset in Lightroom or Snapseed and apply it to every photo.
- Keep the dish as it is served. Editing fixes light and color; it should not change the portion.
If you edit with text instead of sliders, these AI food photo editing prompts for restaurant owners are a good starting list.
12. Plan the crop for each place the photo appears
One photo rarely fits everywhere. Delivery apps want landscape or square crops, the Instagram feed favors 4:5 portrait, and a website banner needs a wide crop.
- Shoot at full resolution and leave space around the dish, so you can crop each version from one original.
- Grab a vertical frame for Stories and Reels while the dish is styled.
- Check each platform's size rules before you upload.
Your Google listing needs these photos too, and photos are only one part of it. This local SEO guide for small businesses covers the rest of the profile: categories, hours, reviews and posts.
If you shoot on a phone, our guide on how to take food photos with your phone lists the iPhone and Android settings and the delivery app sizes.
The 12 tips at a glance
| Tip | What you need | What it fixes |
|---|---|---|
| 1. Window light | A window, a white card | Dull color, yellow tint, flat food |
| 2. Rule of thirds | The camera grid | Static, centered snapshots |
| 3. Angle per dish | Time to move around the plate | Dishes that hide their best side |
| 4. Last second styling | Fresh garnish, a clean cloth | Wilted herbs, messy rims |
| 5. Color contrast | A few plates in different colors | Food that blends into the plate |
| 6. Background and props | A few surfaces, a napkin, a fork | Cluttered or sterile scenes |
| 7. Focus control | Tap to focus or Portrait mode | A busy room competing with the dish |
| 8. Close ups | Side light, a steady phone | Texture lost in wide shots |
| 9. Manual settings | The exposure slider, focus lock | Dark, soft or yellow photos |
| 10. Gear you own | Your phone and a small tripod | Spending before the basics are right |
| 11. One edit for all | One saved preset | A menu that looks like several shoots |
| 12. Crops per platform | A full resolution original | Bad crops on apps and social |
Where MenuCapture fits
The tips above get you a good photo. The edit is where many owners stop, because desktop editing software takes time to learn.
MenuCapture edits the photo you took of your real dish. You upload it and type what to change, such as "change lighting to warmer" or "make the sauce more glossy", and most edits are ready in about 15 seconds. Every version is saved, so you can go back to an earlier one, and you can process up to 10 photos at once when a new menu goes live.
- $0.04 per photo on the $159/year plan, or about $0.06 on the $19/month plan
- Each re-edit uses one of your 300 monthly edits
You can read more about AI food photography for restaurants, including where AI editing helps and where it should stop.
Frequently Asked Questions
Do I need a professional camera for food photography?
No. A well lit, well composed photo from a current phone looks better than a dark photo from an expensive camera. Light, angle and composition matter most. Upgrade only when the phone limits you, usually in very low light, and buy a tripod before anything else.
Will AI editing make my food look fake?
It depends on the tool. Tools that generate a dish from a text prompt often look artificial and do not show your plate. MenuCapture edits the photo of your actual food. If an edit goes too far, type a follow up like "tone down the gloss a little" or go back to an earlier version.
How long does a menu photo session take?
Once a window spot is set up, a simple dish takes a few minutes to plate and shoot. Most MenuCapture edits are ready in about 15 seconds, and some detailed edits take up to a minute. Many restaurants can shoot and edit a whole menu in one afternoon.
Should I shoot from above or from the side?
Match the angle to the dish. Overhead suits flat food like pizza, soup and boards. A 45 degree angle or eye level suits tall food like burgers, stacks of pancakes and layered cakes. When unsure, take a few frames from each and keep the one that shows the dish best.
Turn your menu photos into orders
MenuCapture edits your real dish photos into clear, appetizing menu images that help you win more orders.
View pricing